Ars staffers share some of their favorite unexpected 3D prints
Once you solve one problem with a 3D printer, you’ll go looking for others.
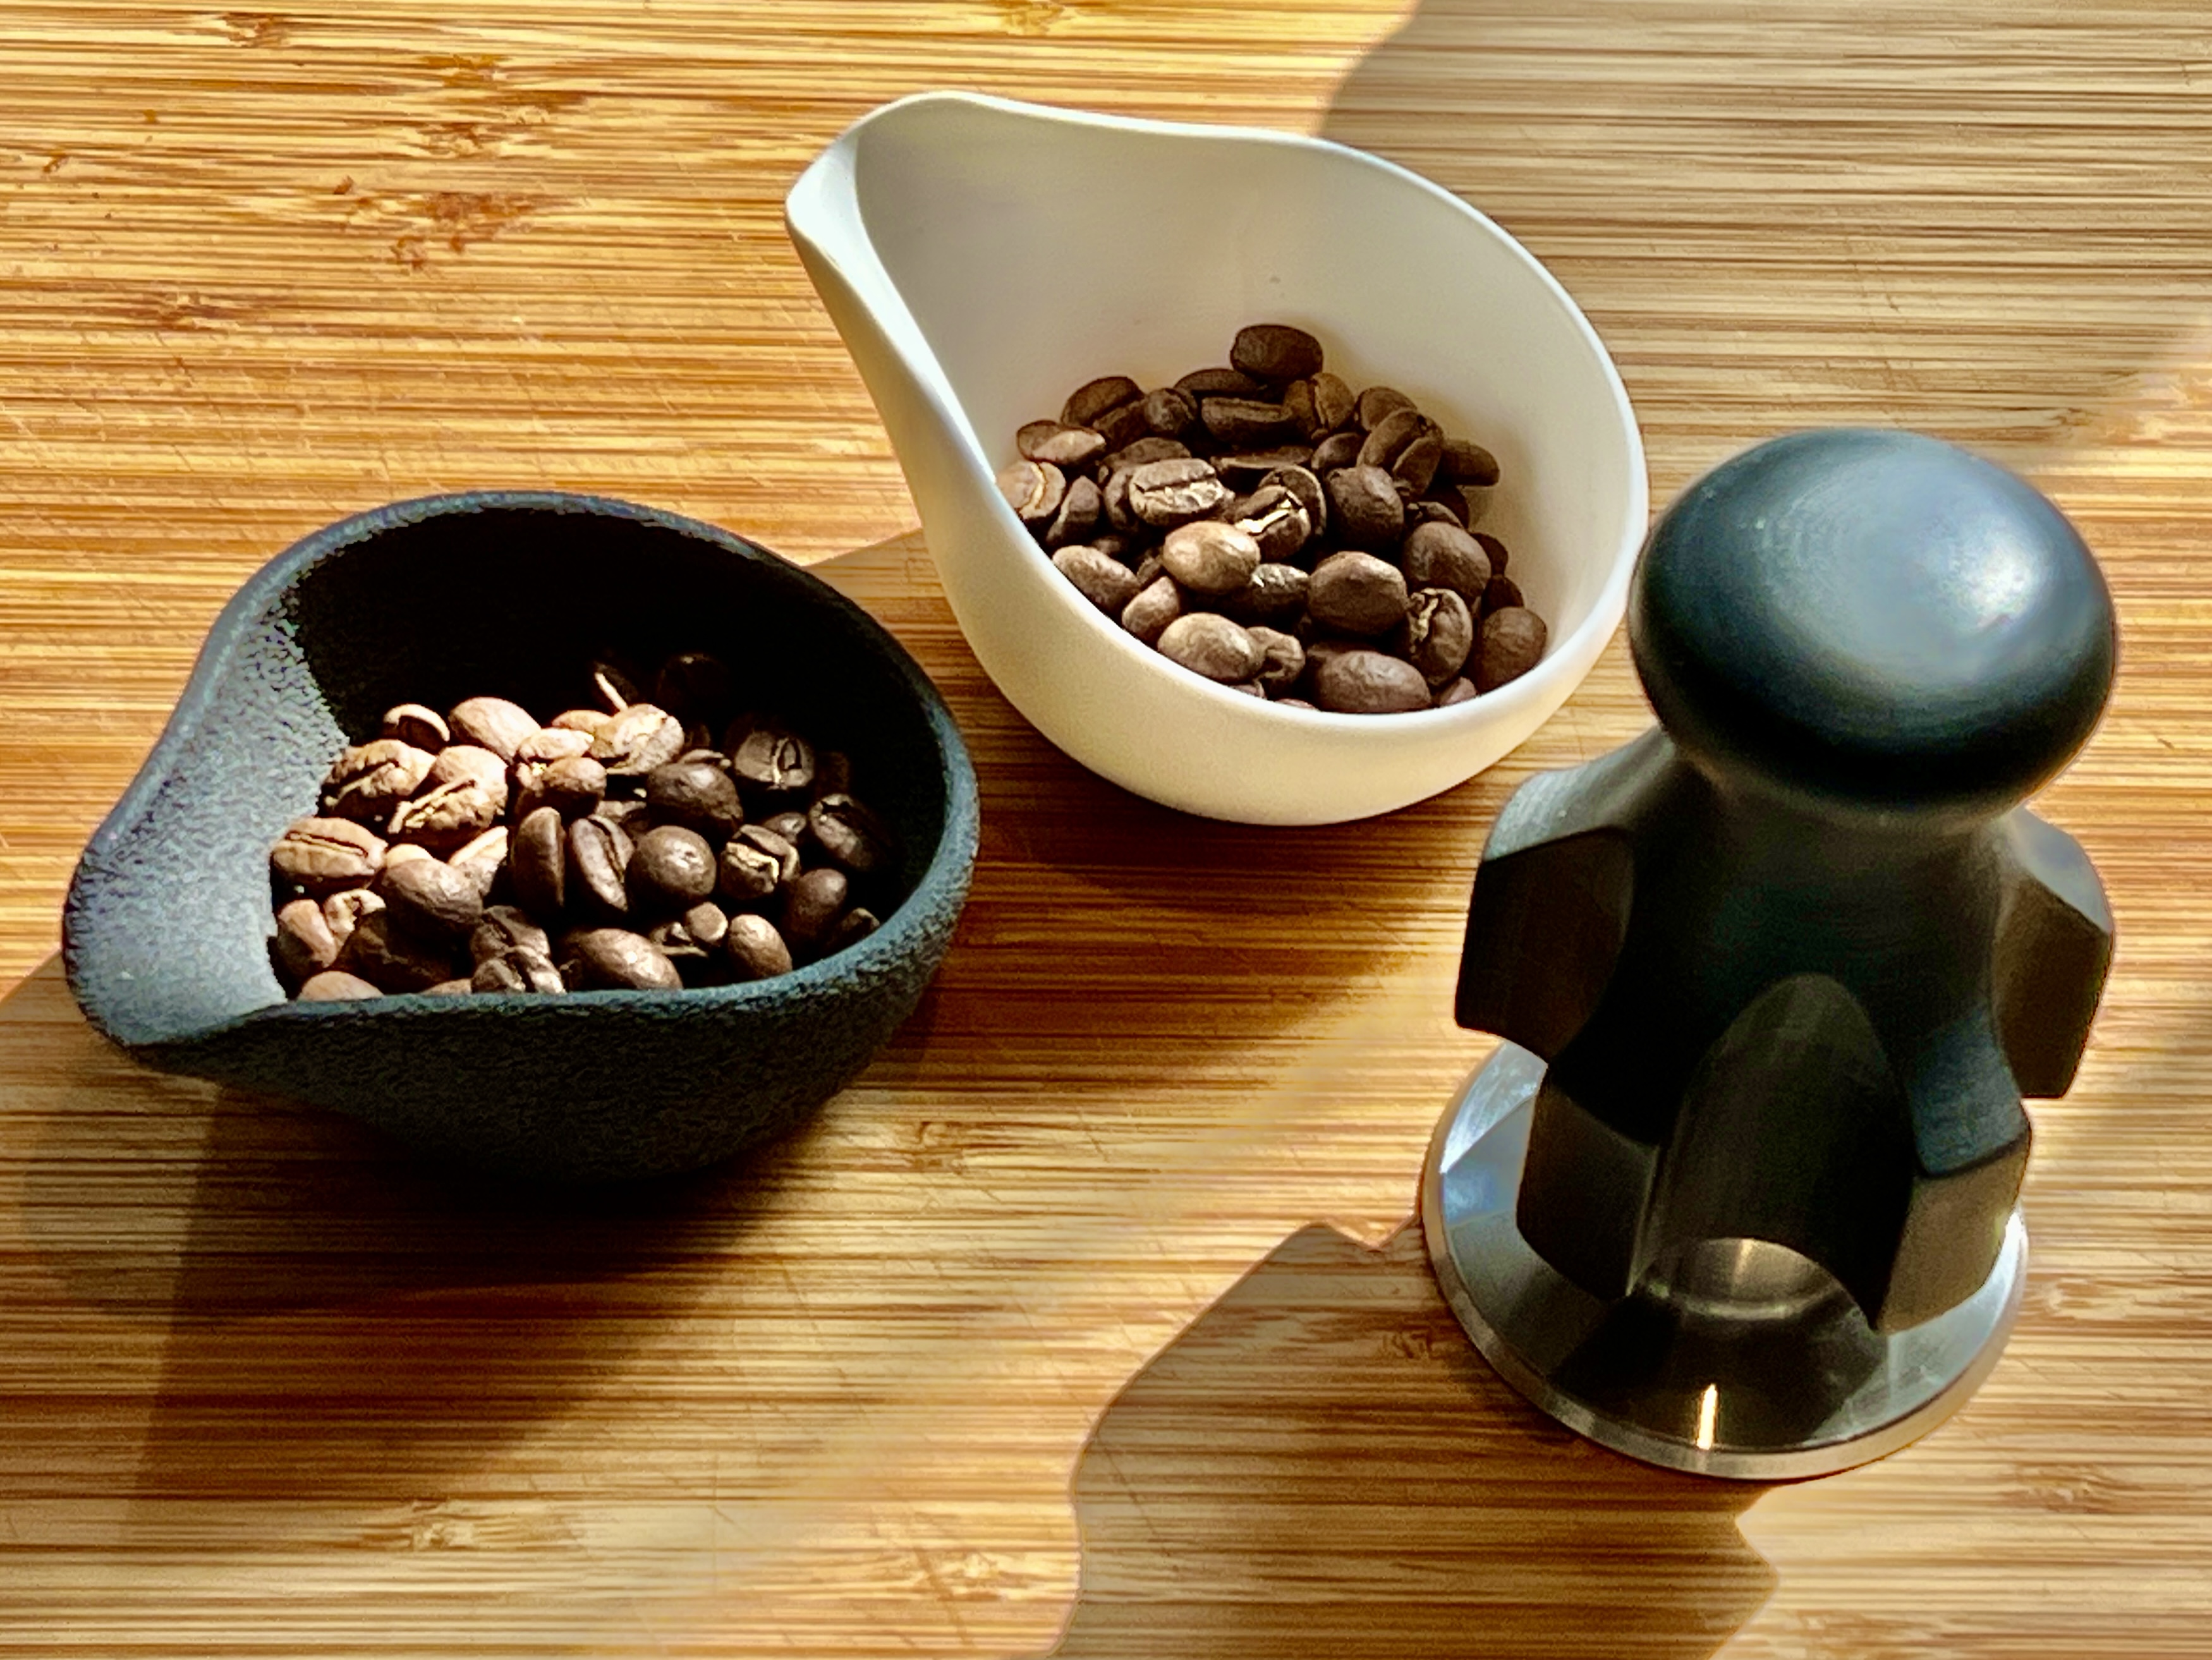
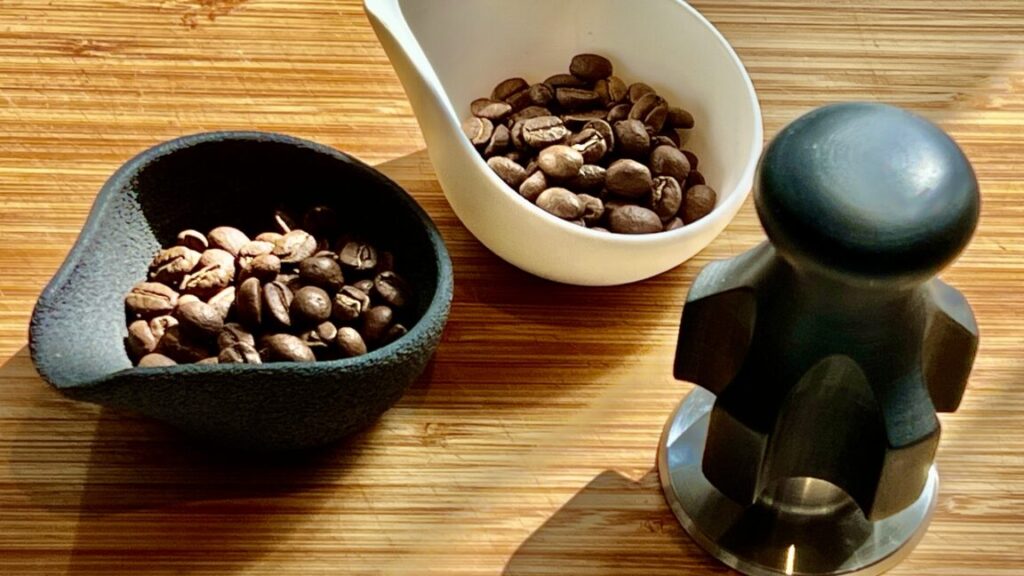
Coffee bean dosing cups and espresso tamper handle Credit: Aurich Lawson
Coffee bean dosing cups and espresso tamper handle Credit: Aurich Lawson
Part of the fun of 3D printing is discovering just how many possibilities there are for different things to print. Obviously, they’re fun for printing toys or decorations that you couldn’t or wouldn’t buy yourself, but they’re also powerful problem-solving tools. Once you’ve solved a few problems with 3D printed parts, you start looking around for other minor inconveniences or quality-of-life upgrades that you could solve—and the breadth and depth of the 3D printing community means that you can almost always find someone else who has already thought up and posted a solution for you.
As a coda to our series about breaking into 3D printing for the first time, the 3D printer-pilled among the Ars staff is sharing a few of their favorite unexpected prints, from fun all-purpose gifts to containers and organizers to parts that will help you with your other, non-3D-printing-related hobbies. This is just a fraction of what’s out there, but if you’re still on the fence, maybe some of these will open your mind to the possibilities.
Coffee gear
Every morning, I make either a pour-over coffee or some form of espresso. For measuring my beans, I printed two dosing cups. The black one is matte black PLA with a fuzzy surface texture (an option in most slicers that adds random noise to the outside wall paths), and the white one is ABS that I sanded to a smooth surface. For sanding, I prefer ABS, as it’s easier to get something that has no real signs of layer lines. To tamp my espresso grounds, I printed a handle in black ABS and sanded it smooth to feel good in the hand. The rounded knob helps me get pressure more comfortably than the raw metal of the original tamper, and the radial fins fit perfectly into the dosing cup, keeping the tamp straight up and down so I don’t end up with a sloped surface.
These were all files I downloaded from MakerWorld, and I didn’t really do anything to them except minor scaling or adding the fuzzy skin.
—Aurich Lawson, Creative Director
Even more organizational tools
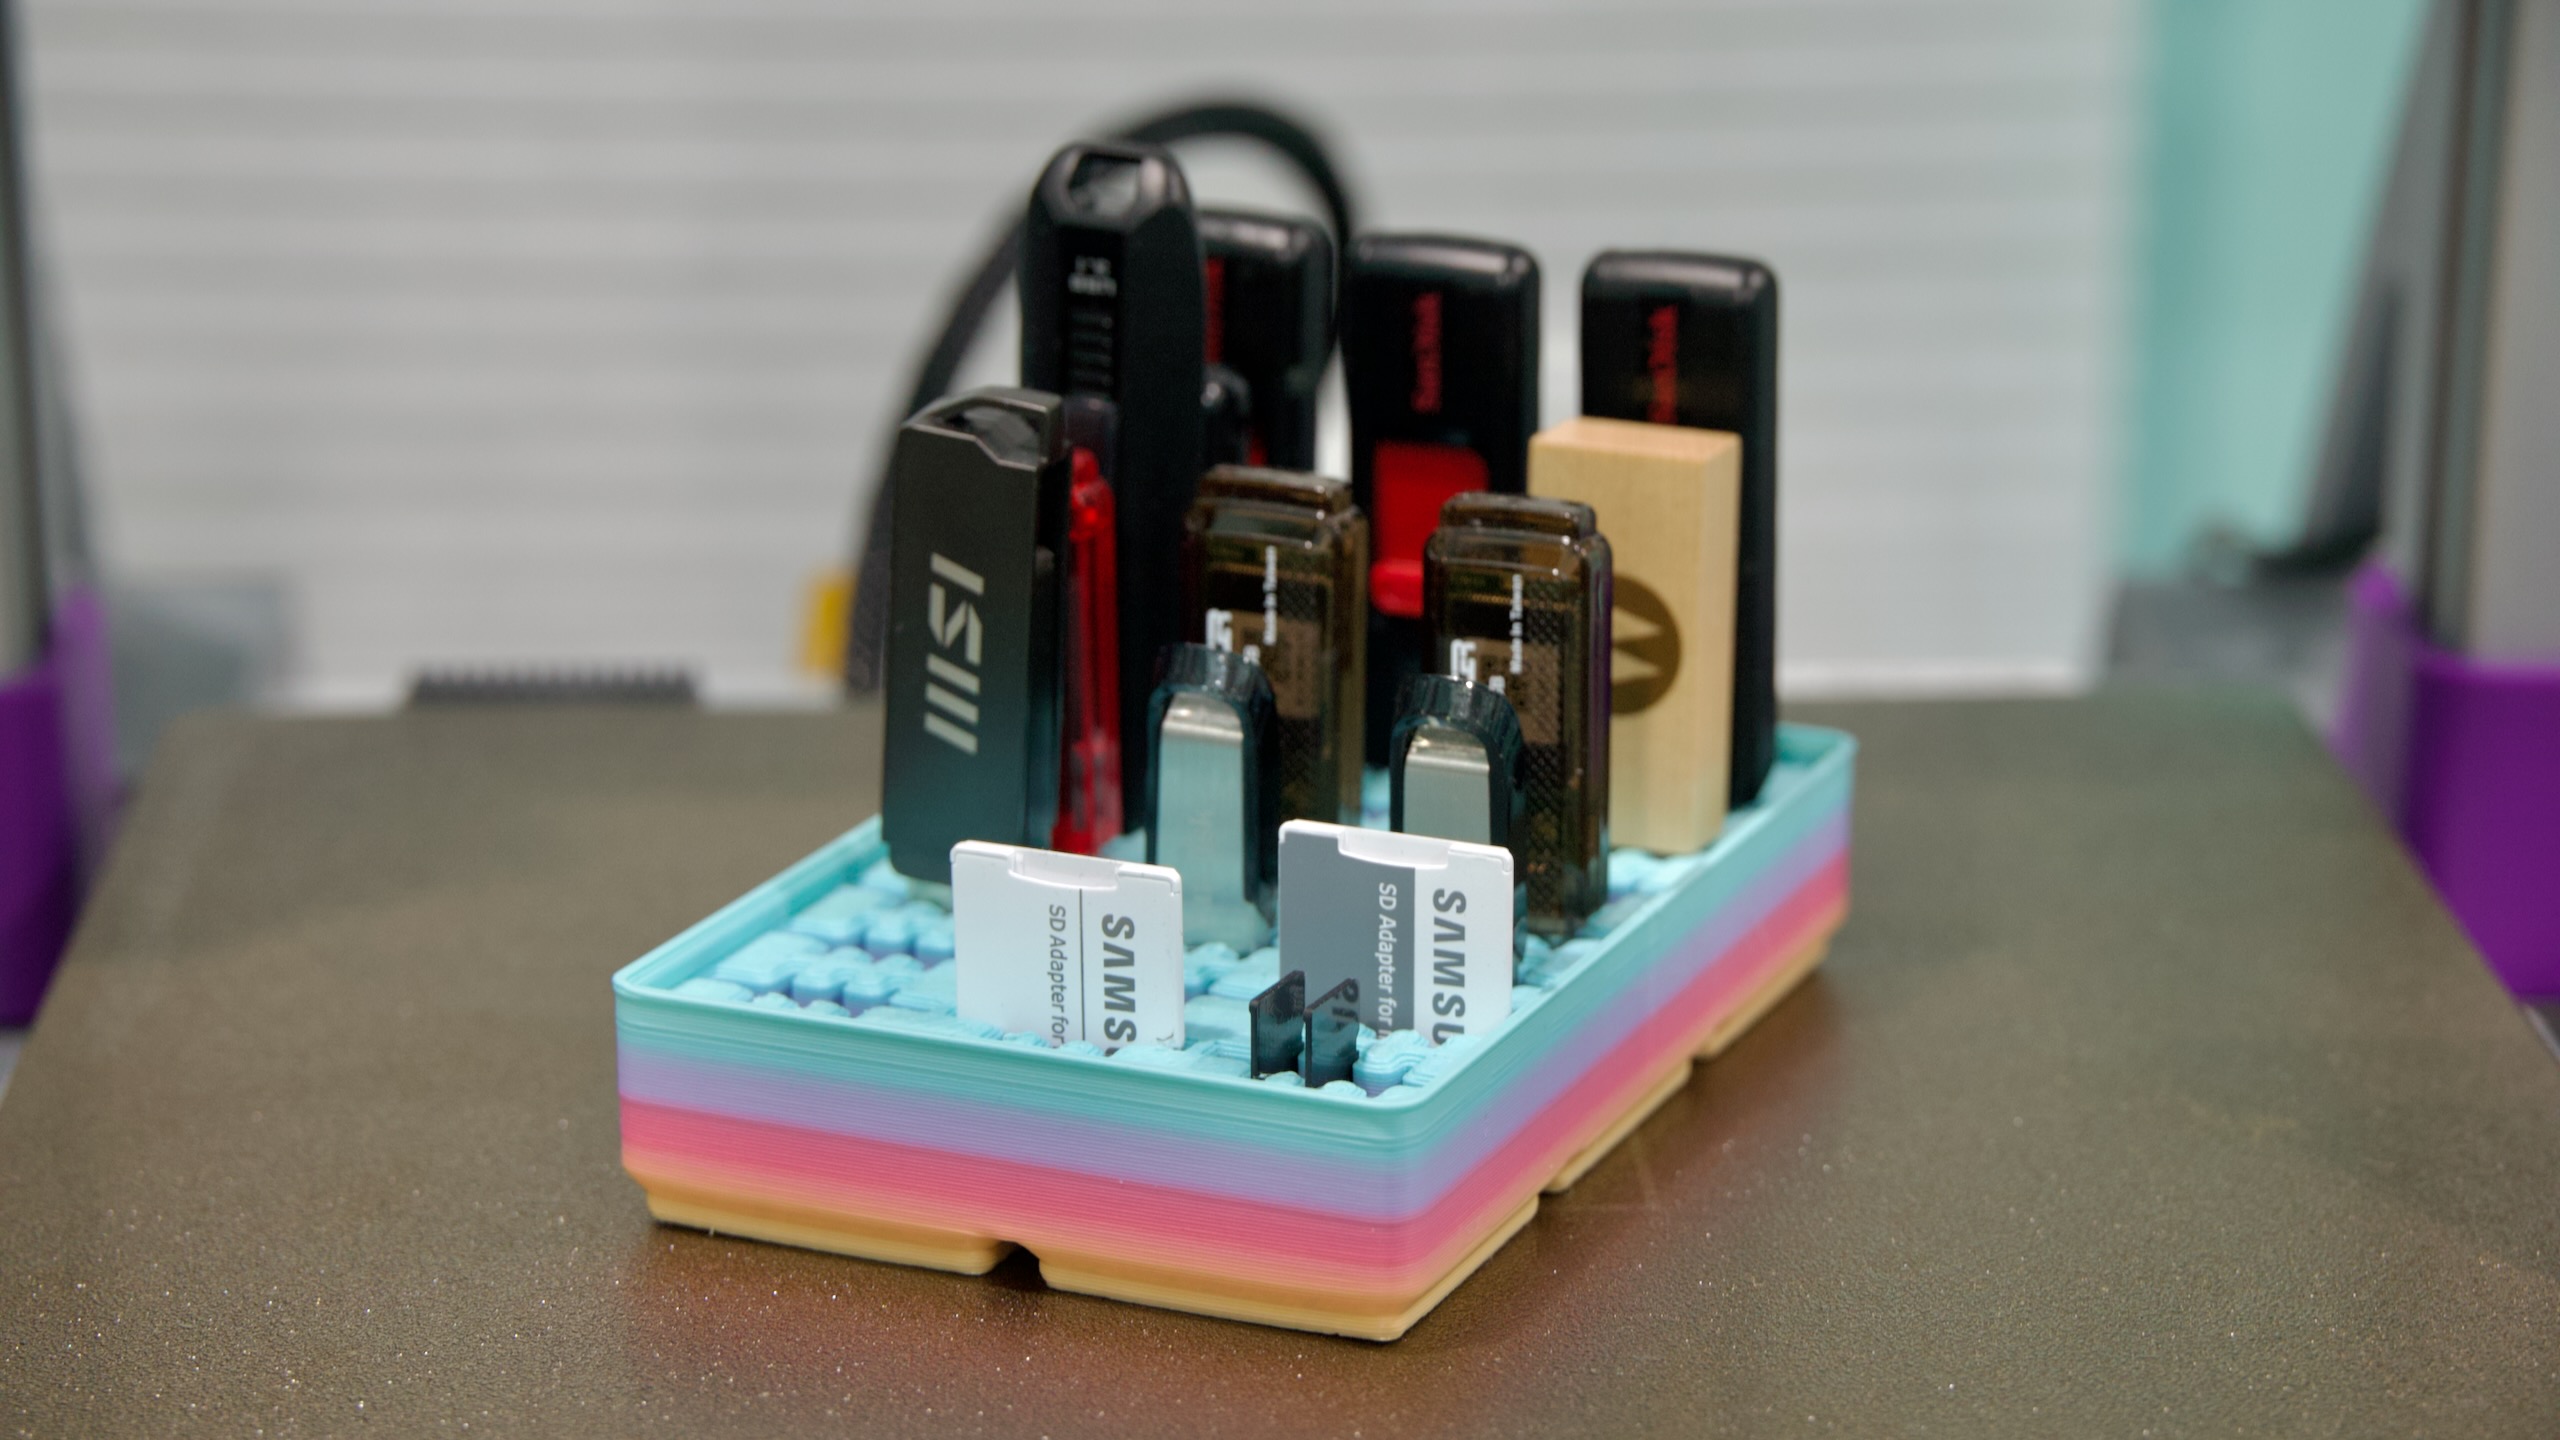
3D printers are good for imposing order on chaos. Credit: Andrew Cunningham
My very first 3D prints were new organizational tools to try and impose some order on the chaos of my home and office, and my favorite prints still tend to be of that genre.
Cleaning out and fully organizing my desk with 3D-printed baskets and containers is still on my long to-do list, but I did manage to tame the loose pile of USB sticks and memory cards in my desk with one of the many available organizer designs. This Gridfinity-compatible design is the one I went for, but there are truly dozens of examples on MakerWorld alone; I like this one because it can hold a lot of USB-A drives and because each individual slot is versatile enough to hold USB drives or SD or microSD cards. But there are examples with more USB-C ports and some with different dimensions and spacing, so you can find the one that works best for the space you’re trying to fit it into.
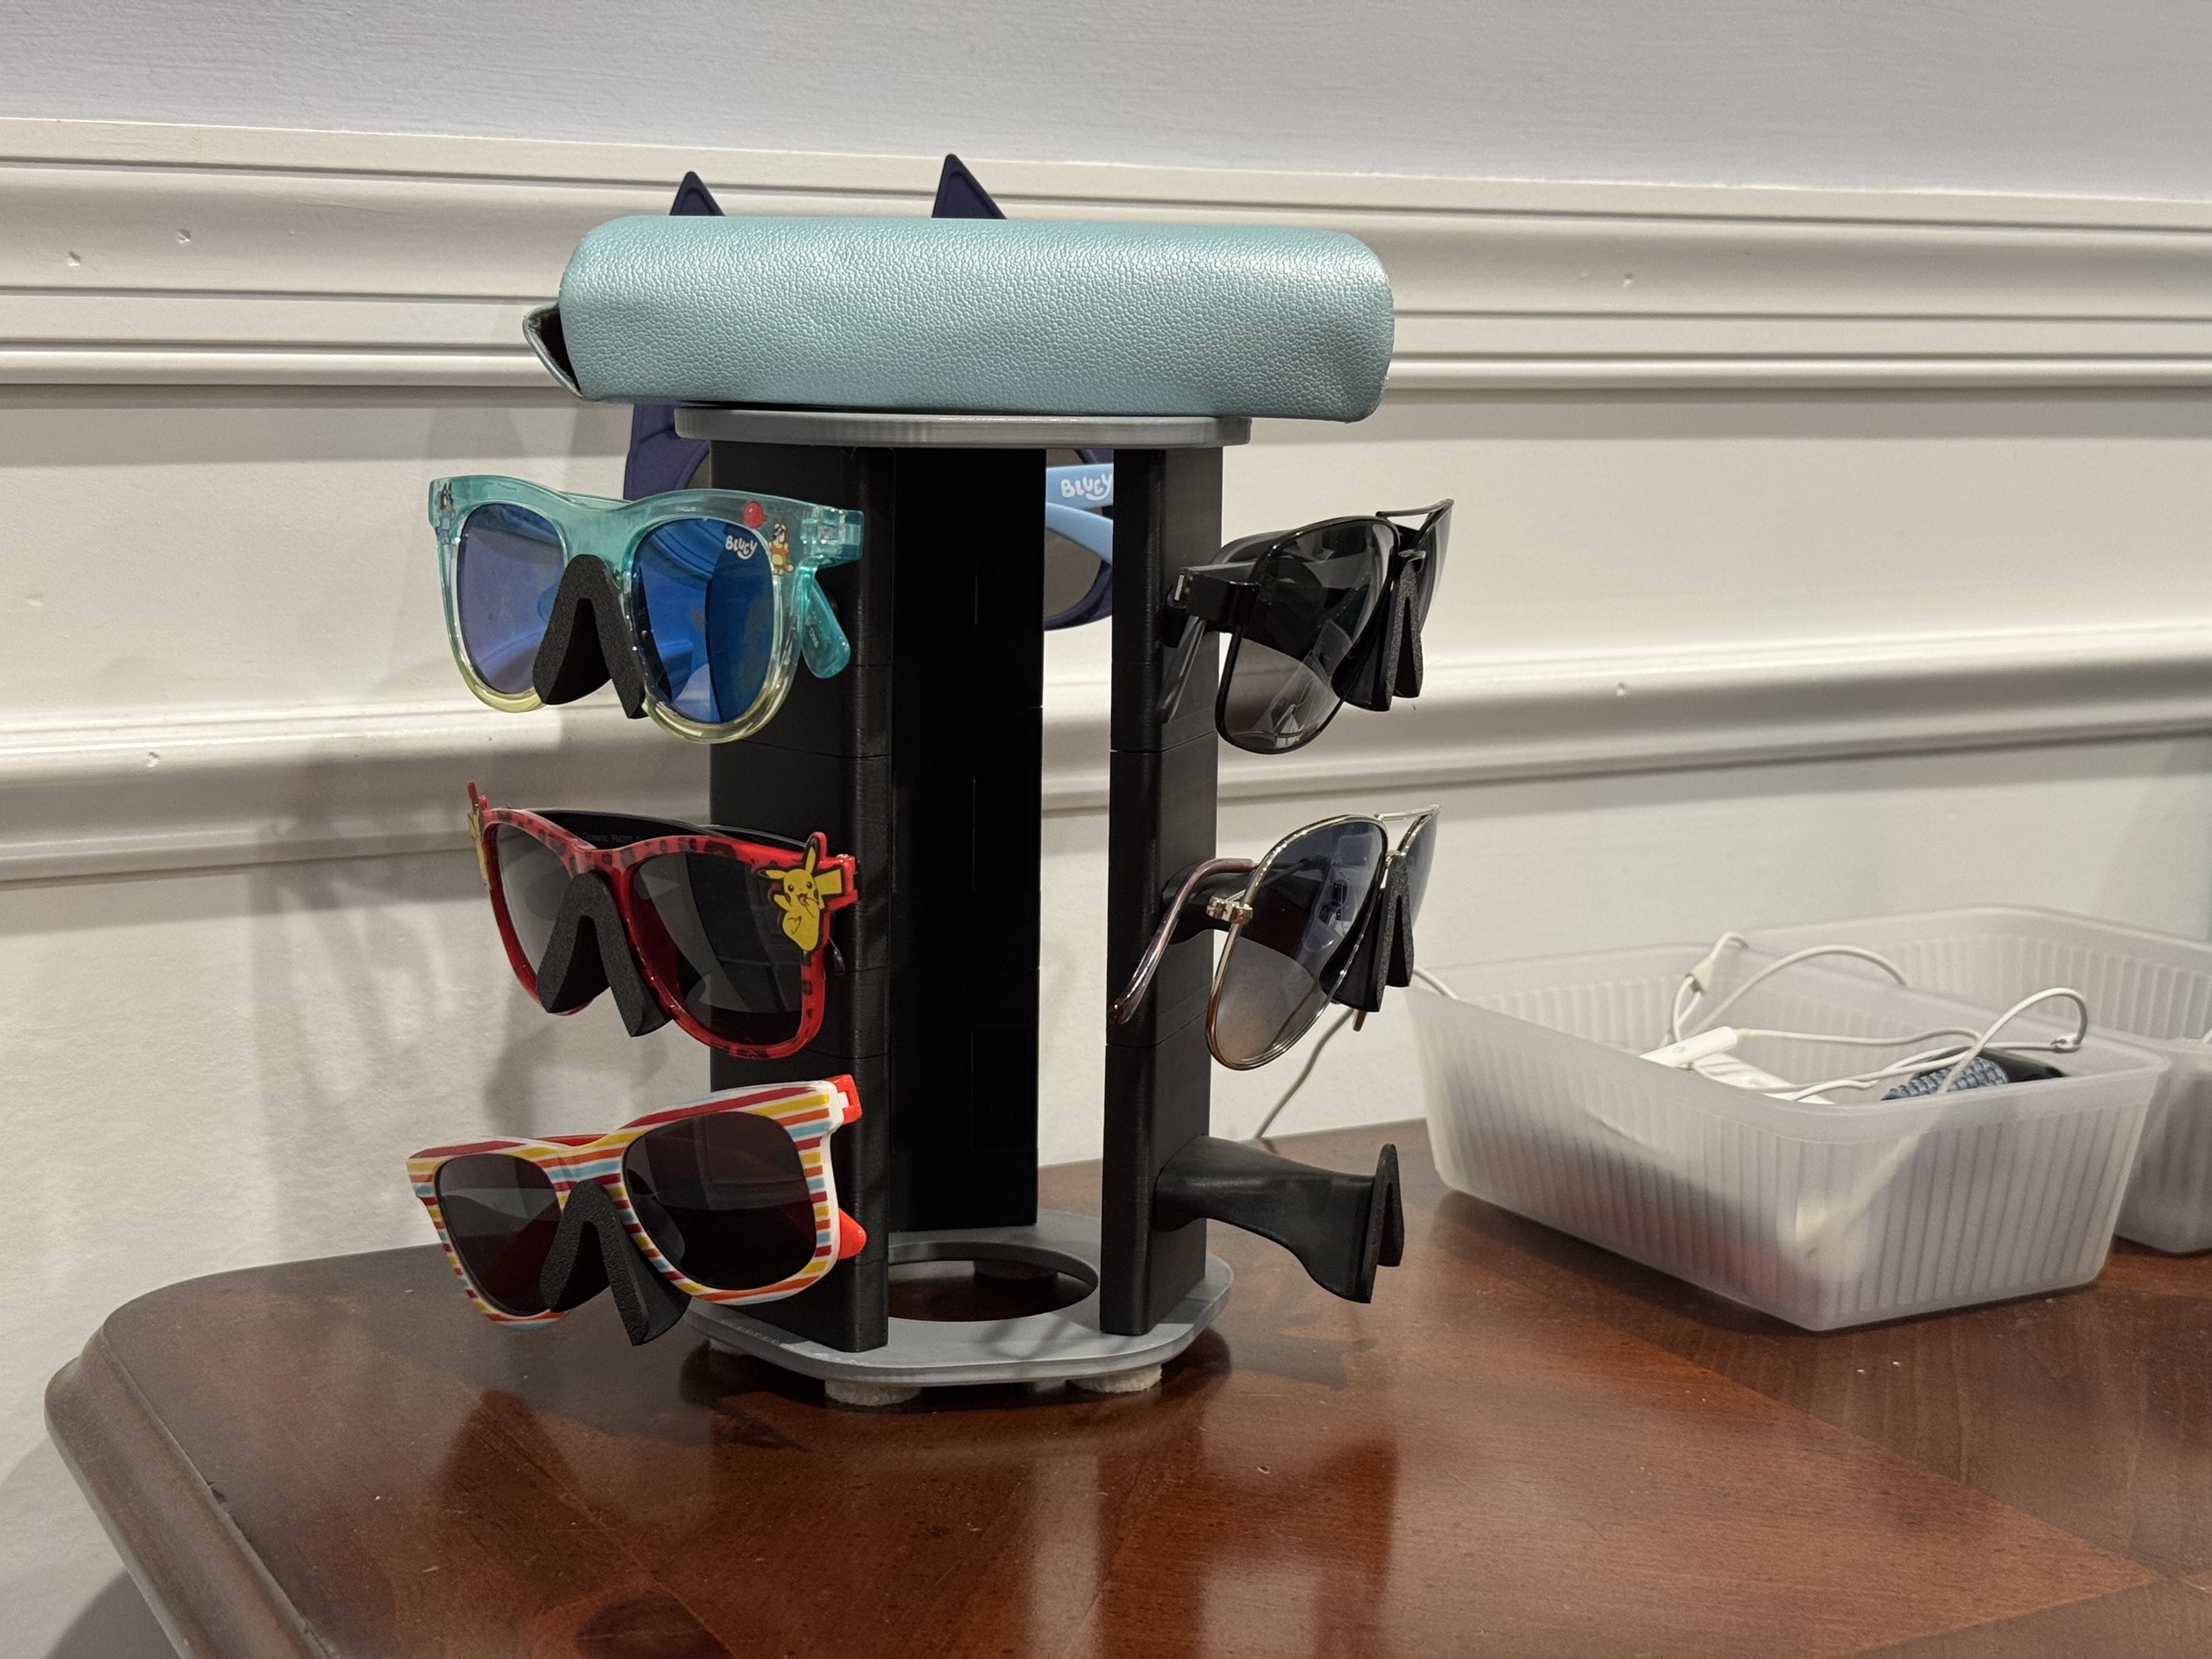
Who doesn’t need to be able to store multiple pairs of Bluey sunglasses? Credit: Andrew Cunningham
Having a third sunglasses-wearer in the house (and one with multiple Bluey sunglasses) also made it necessary to find some kind of way to easily put them away and keep them from floating around the living room or car and getting lost forever. I really like the versatile and modular SnapStack Modular Glasses Holder design, which gives you designs for a base and a top, and then you print as many sunglasses holders as you need; if you need to expand later on, just print another one or pop the top off and add to the one you’ve already made.
We had enough things to store that I went right for this three-sided version of the stand, which I printed to be able to hold nine pairs (and which is large enough that you can rest a sunglasses case or something else on the top). I stuck a few small adhesive furniture pads to the bottom to prevent damage to the table. But if you have fewer, you can print free-standing or wall-mounted versions, too.
—Andrew Cunningham, Senior Technology Reporter
Aerogarden baskets and Mario mushrooms
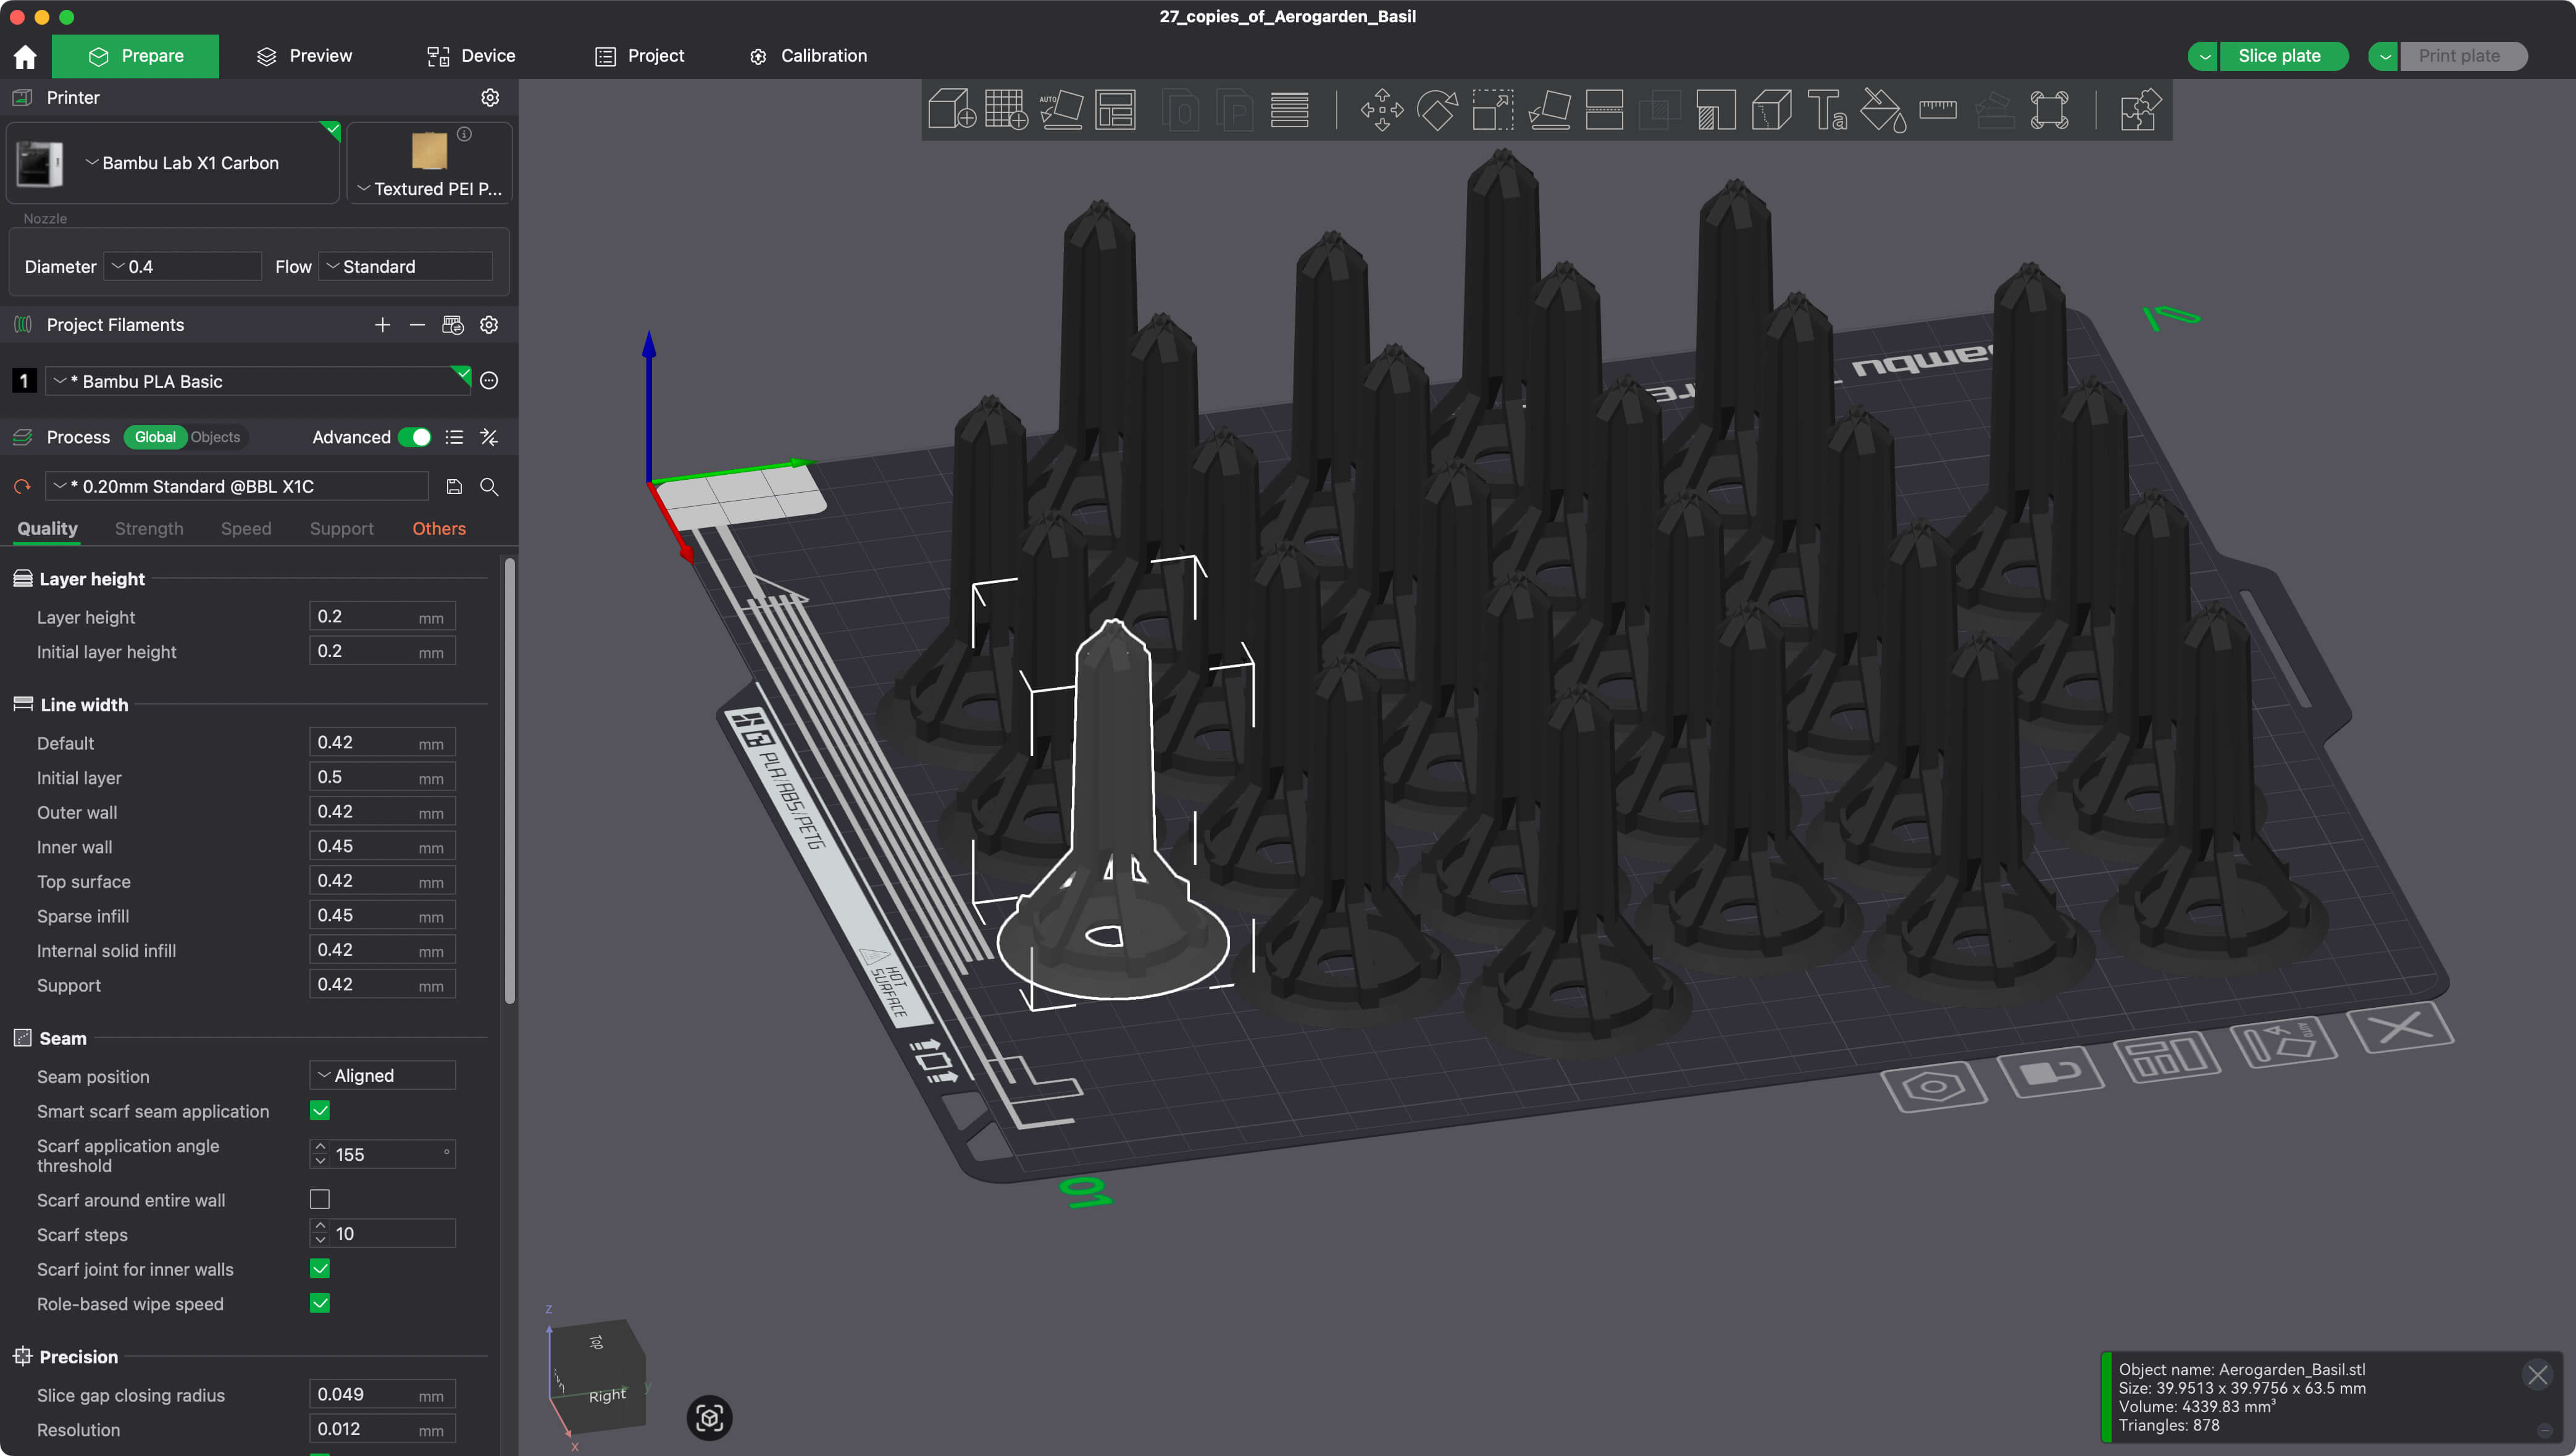
So, so many Aerogarden baskets.
Credit: Lee Hutchinson
So, so many Aerogarden baskets. Credit: Lee Hutchinson
I have two fun 3D printer things to share—one is a life/money hack kind of thing, and the other is just neat.
On the life/money hack thing, my wife is a big Aerogarden kind of person—we have probably two dozen or more of the hydroponic plant doodads all over the house in various sizes, from tiny to “one wall of the kitchen.” She raises small plants in the Aerogarden(s) and then transfers them outside to the real garden; doing this means she was buying lots of special little Aerogarden baskets for the baby plants to take root in.
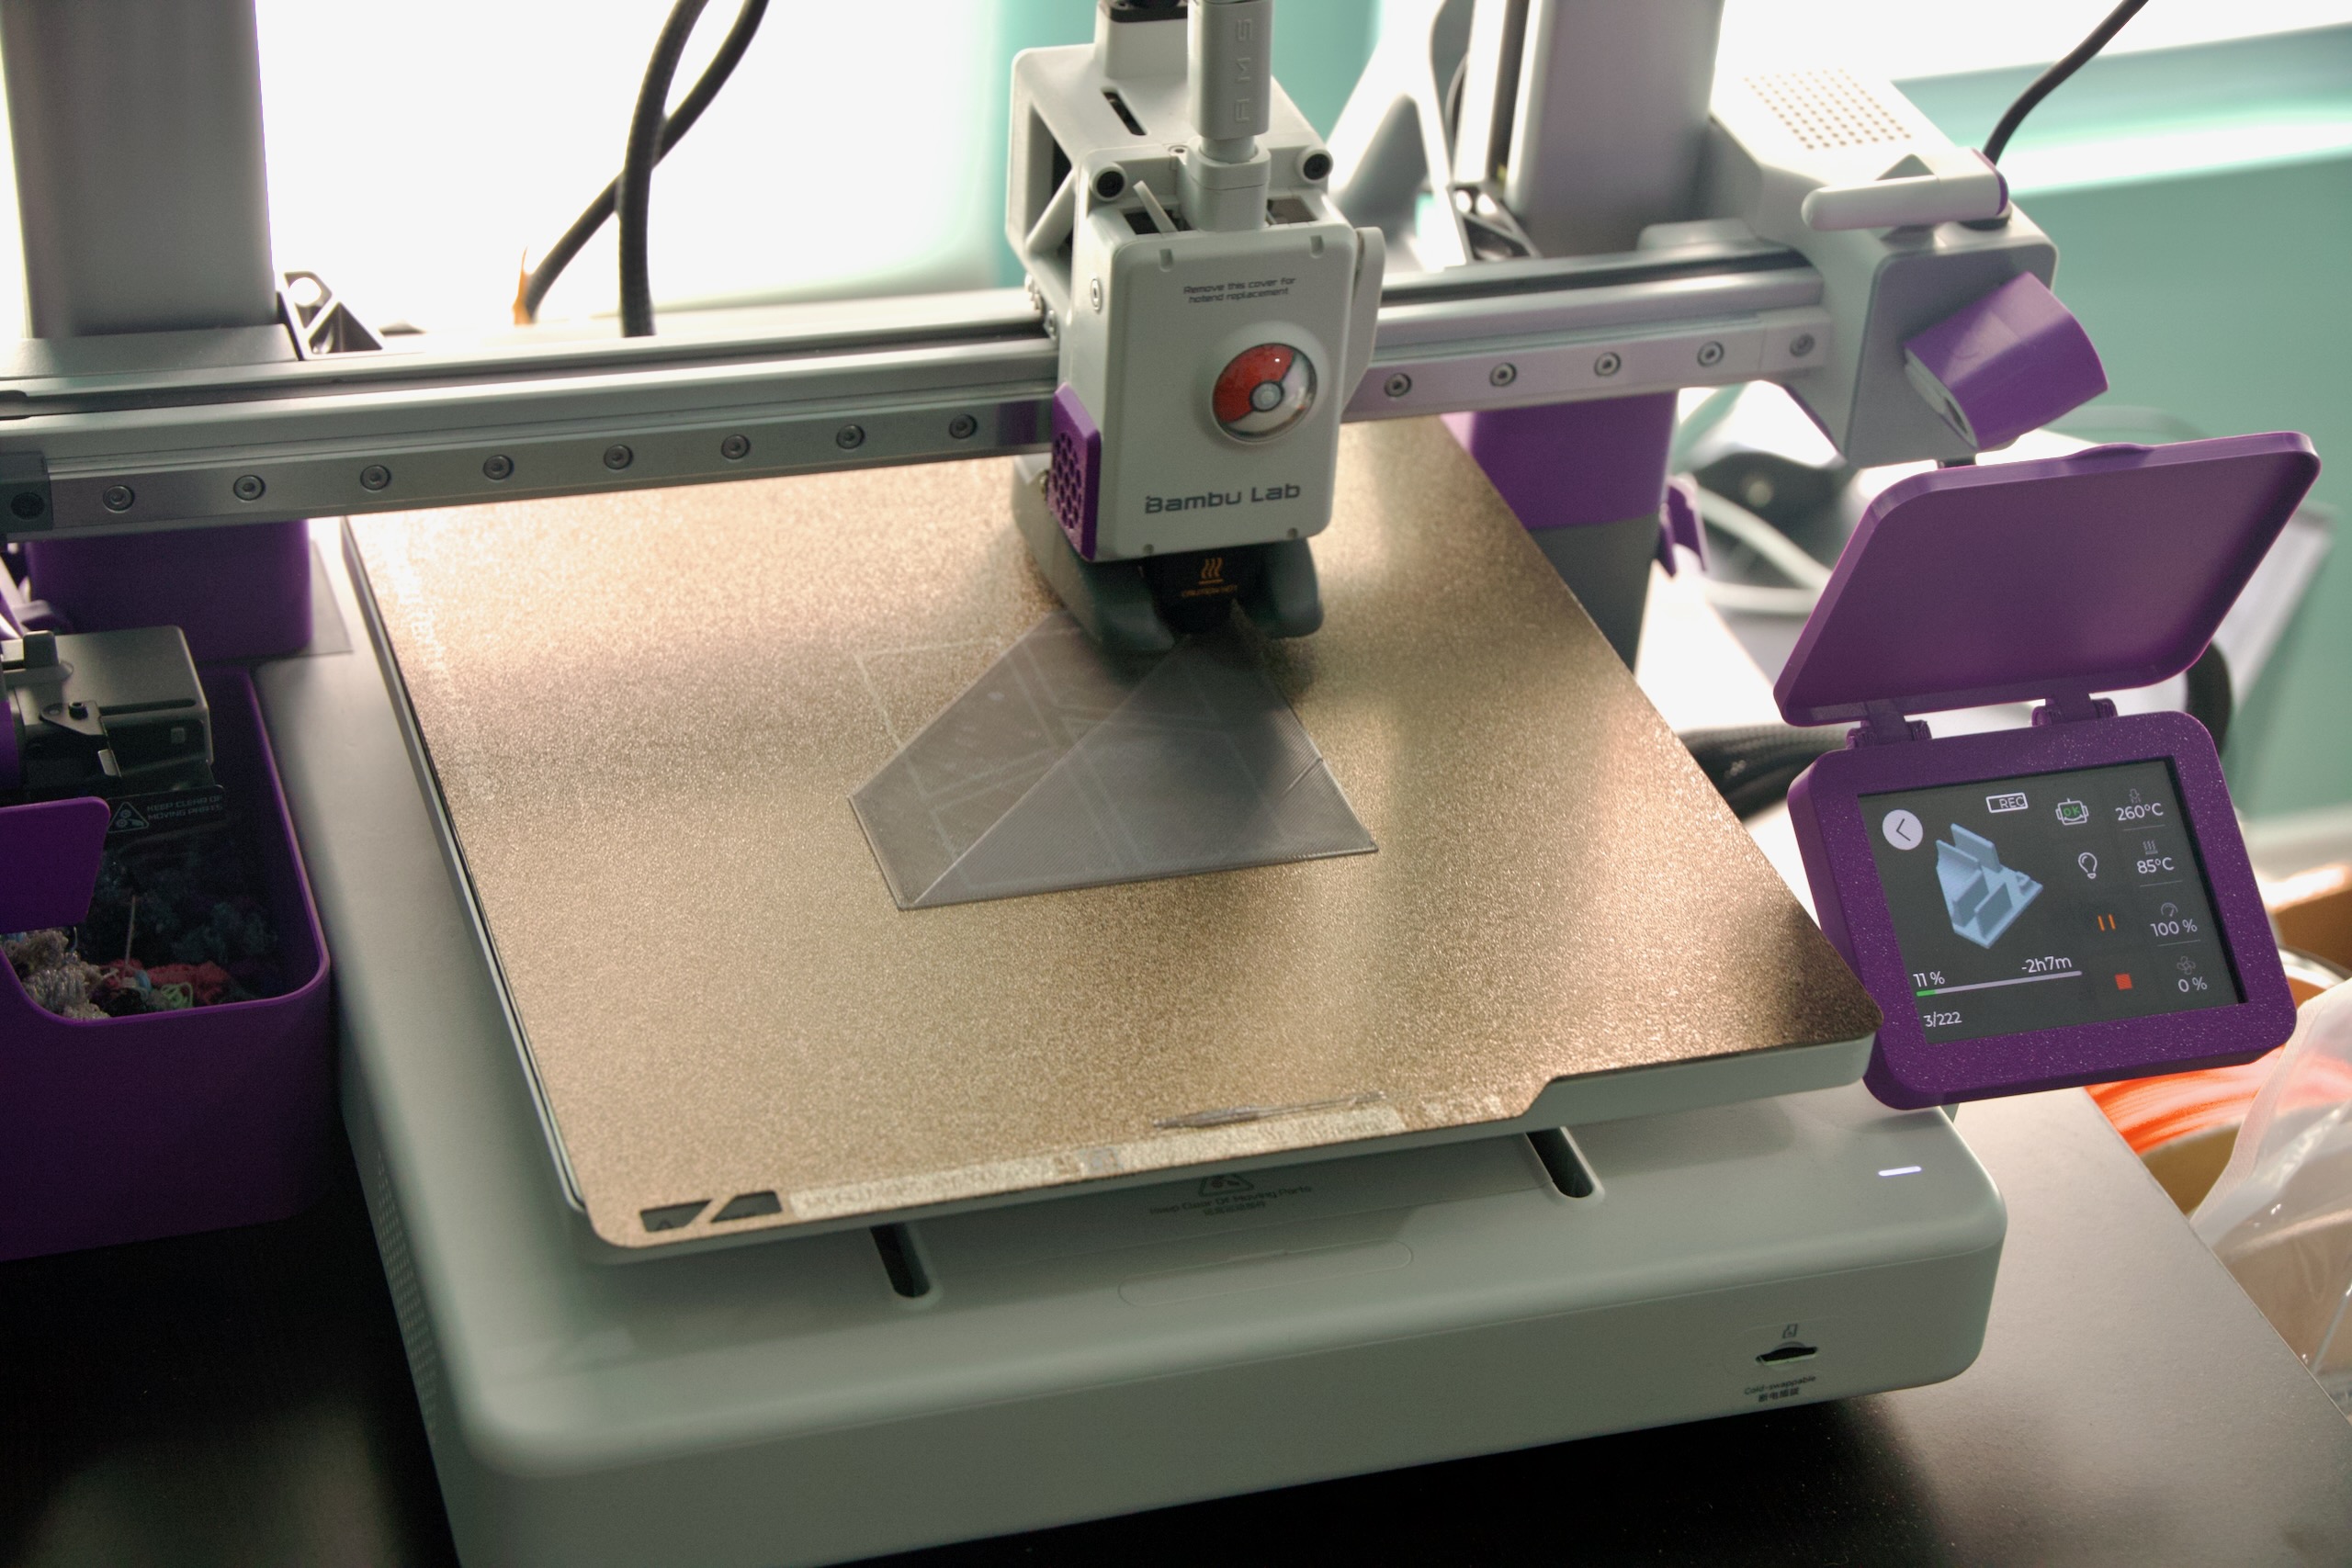
That sounded like a job for a 3d printer! And sure enough, Thingiverse came to the rescue! In the two years we’ve had our Bambu Lab X1 Carbon, I’ve printed probably a thousand or more of these things, in 27-lot batches because that’s how many will fit on a single build plate.
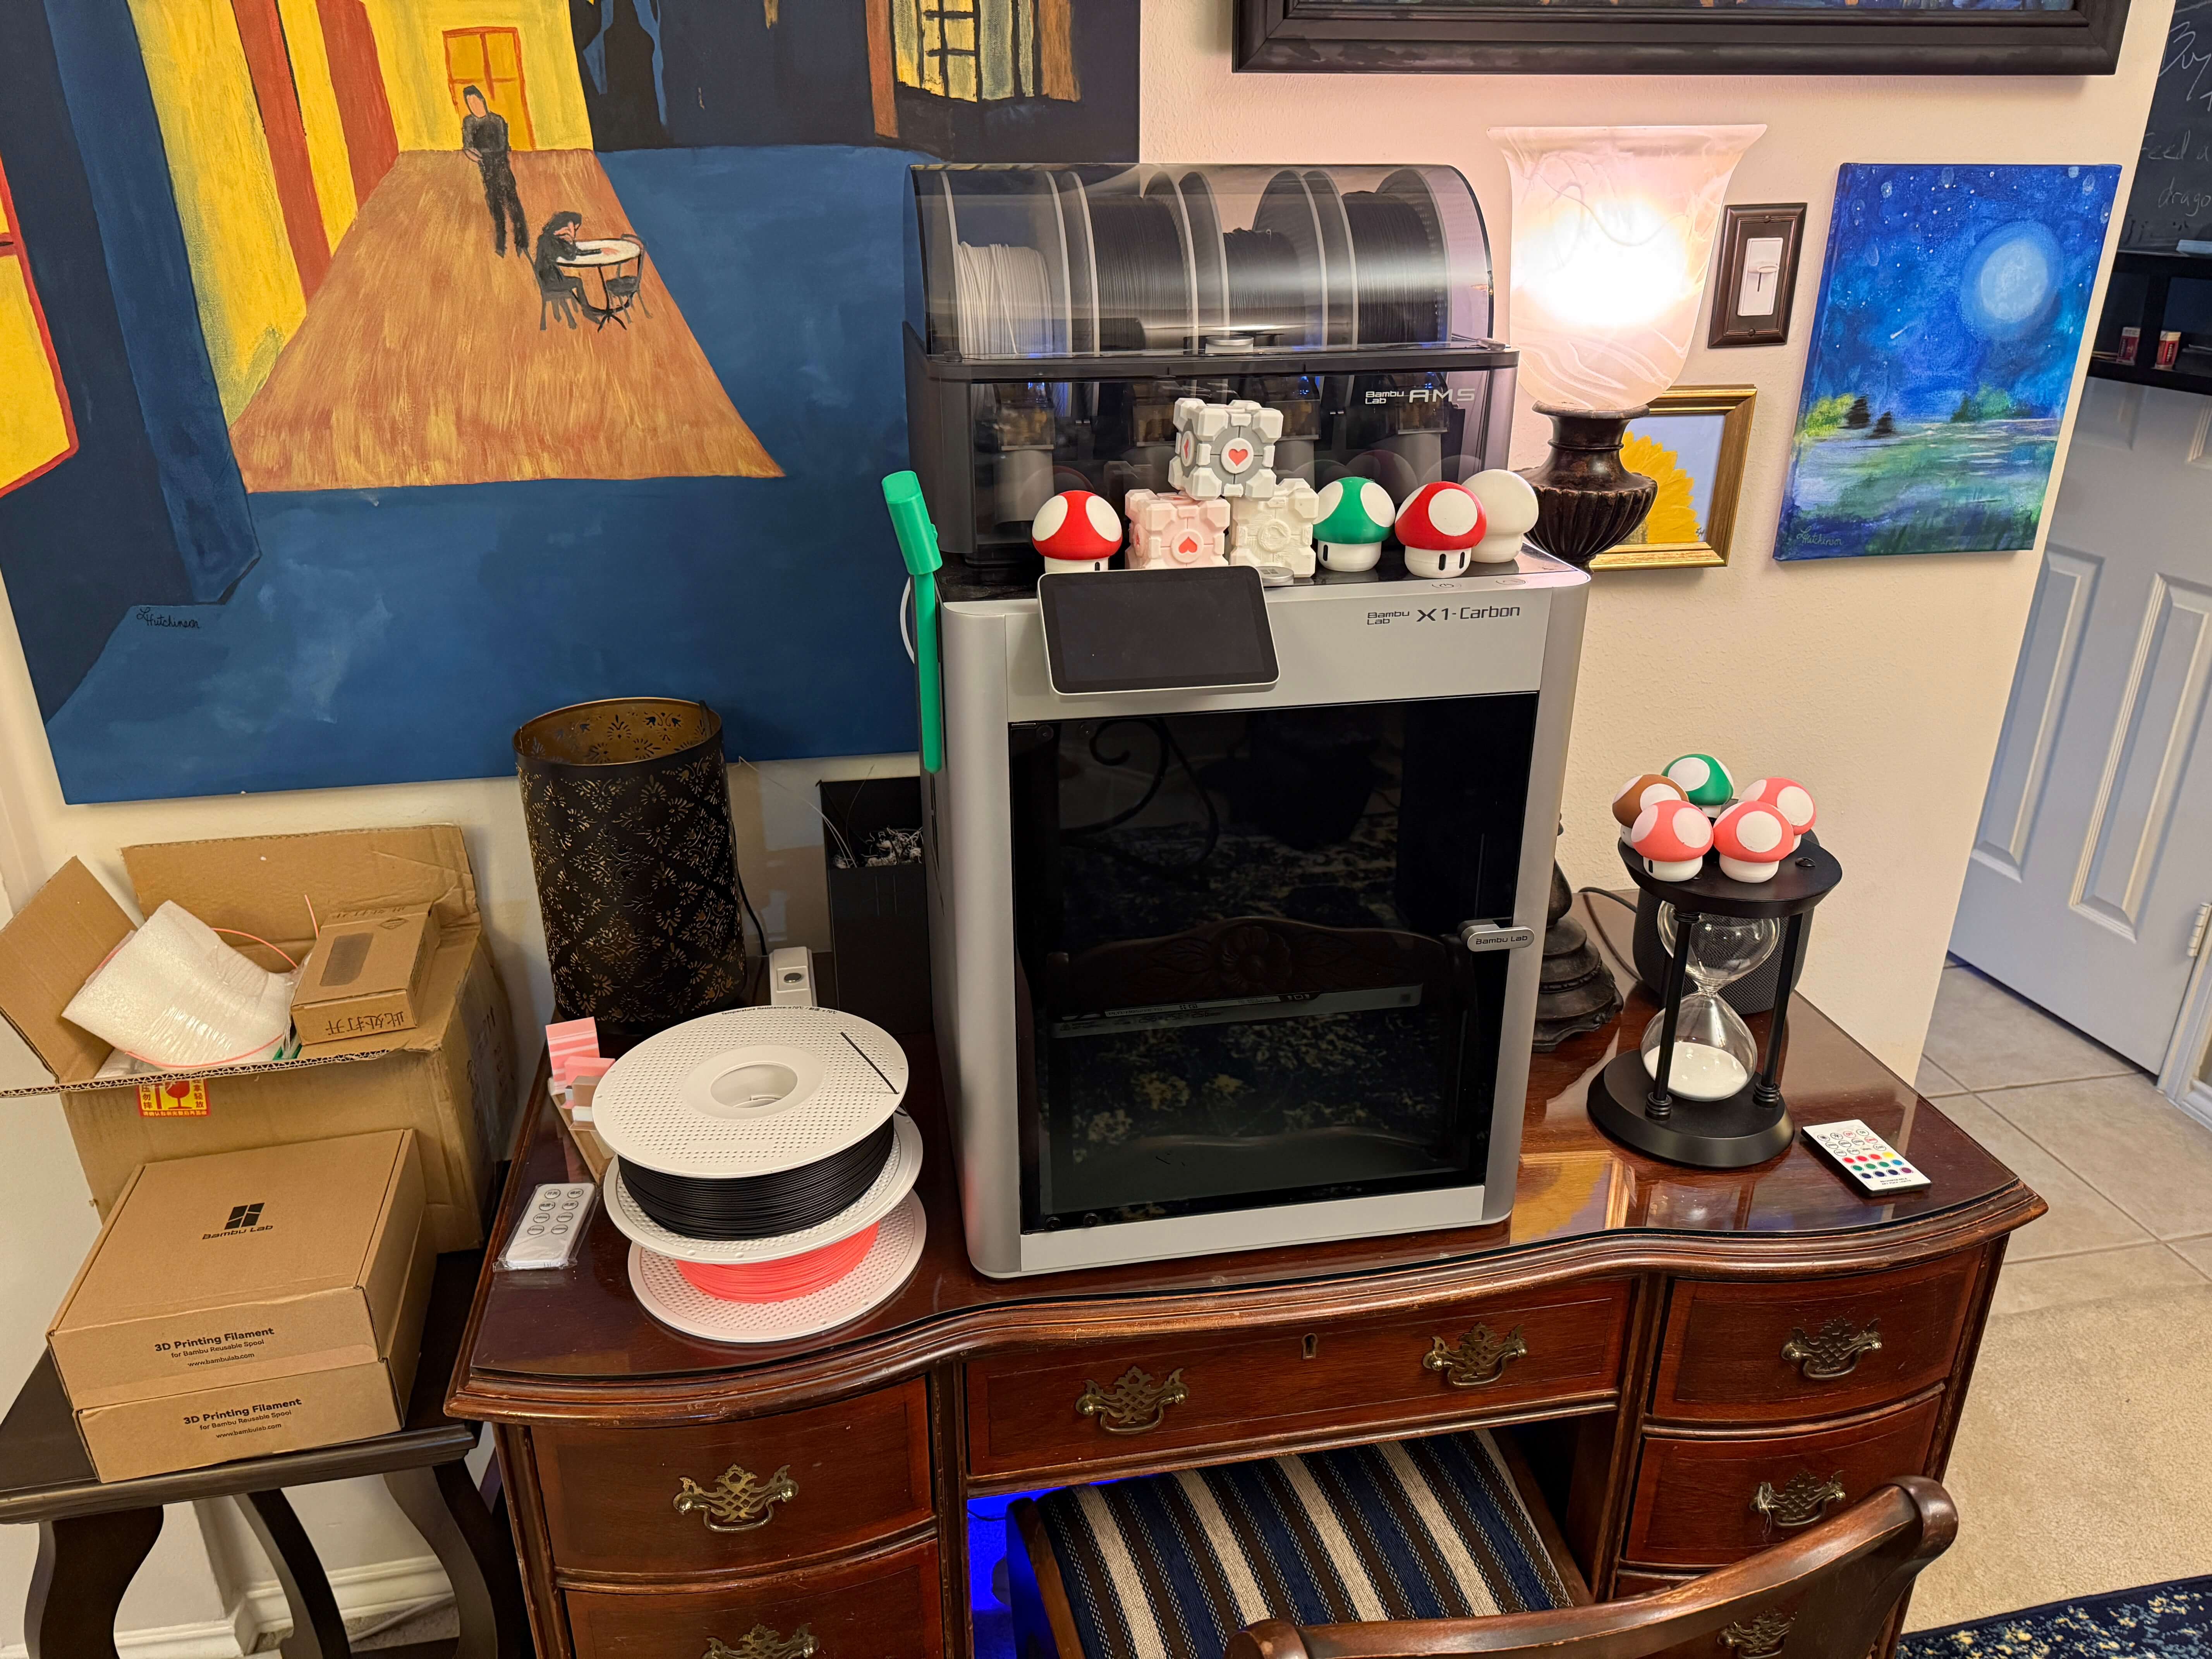
I got mushrooms and companion cubes for days!
Credit: Lee Hutchinson
I got mushrooms and companion cubes for days! Credit: Lee Hutchinson
The other thing that has brought delight, honestly, is this little screw-top Mario 1-Up mushroom (at least, I think that’s the same one as the one I’ve been printing—it’s hard to tell, but it looks the same). It’s a little silly, but these things are not only really fun to fidget with—the top comes off and you can hide stuff in them!—but they also make fantastic little gifts for folks, especially anyone with kids and/or Gen-X sensibilities. Everyone needs more screw-top 1-Up mushrooms in their lives, and they work great in tons of different colors!
— Lee Hutchinson, Senior Technology Editor
Festool track hangers
I have three different tracks for my Festool tracksaw that I like to hang on my garage wall. It keeps them from getting dinged up, and they are easily accessible when I’m ready to cut with them. For these, I modeled my own designs in Fusion 360, with the main body printed in matte black PLA and the knob printed in a green HTPLA called Lootsef by Protopasta. That’s “Festool” spelled backward, of course, and it’s designed to pretty much perfectly match Festool’s signature green.
I used nuts embedded in the main body and bolts through the knobs to allow them to be turned to lock or release the track in place. I modeled the Festool logo into the top of the knob and used the ironing option in Bambu Studio to use the printer’s hotend to smooth the top surface around the logo.
The protective end caps were printed in the same HTPLA from a file someone uploaded to Printables.
—Aurich Lawson, Creative Director
Gridfinity all the things!
Gridfinity is a modular, grid-based storage and organization system that’s optimized for 3D printing and rapid customization. Created by Zack Freedman, Gridfinity uses a standardized 42×42 mm base grid upon which you can place highly adaptable tool trays, organizers, and workspace layouts.
The upshot is that you can print anything from a little 1x1x1 cube (42 mm3) to a massive storage bin the size of your print bed. If your desk, kitchen, or bathroom drawers scream out for organization, this is a good solution because you can print exactly what you want.
The Gridfinity Generator has you covered when it comes to printing a custom base grid. This parametric gridfinity tool is a great place to start printing bins, particularly if you’re in a situation where you can shave a few grams of filament off your design (desk bins, for instance, can typically use very thin walls).
—Ken Fisher, Editor-In-Chief
Green PETG for your green thumb
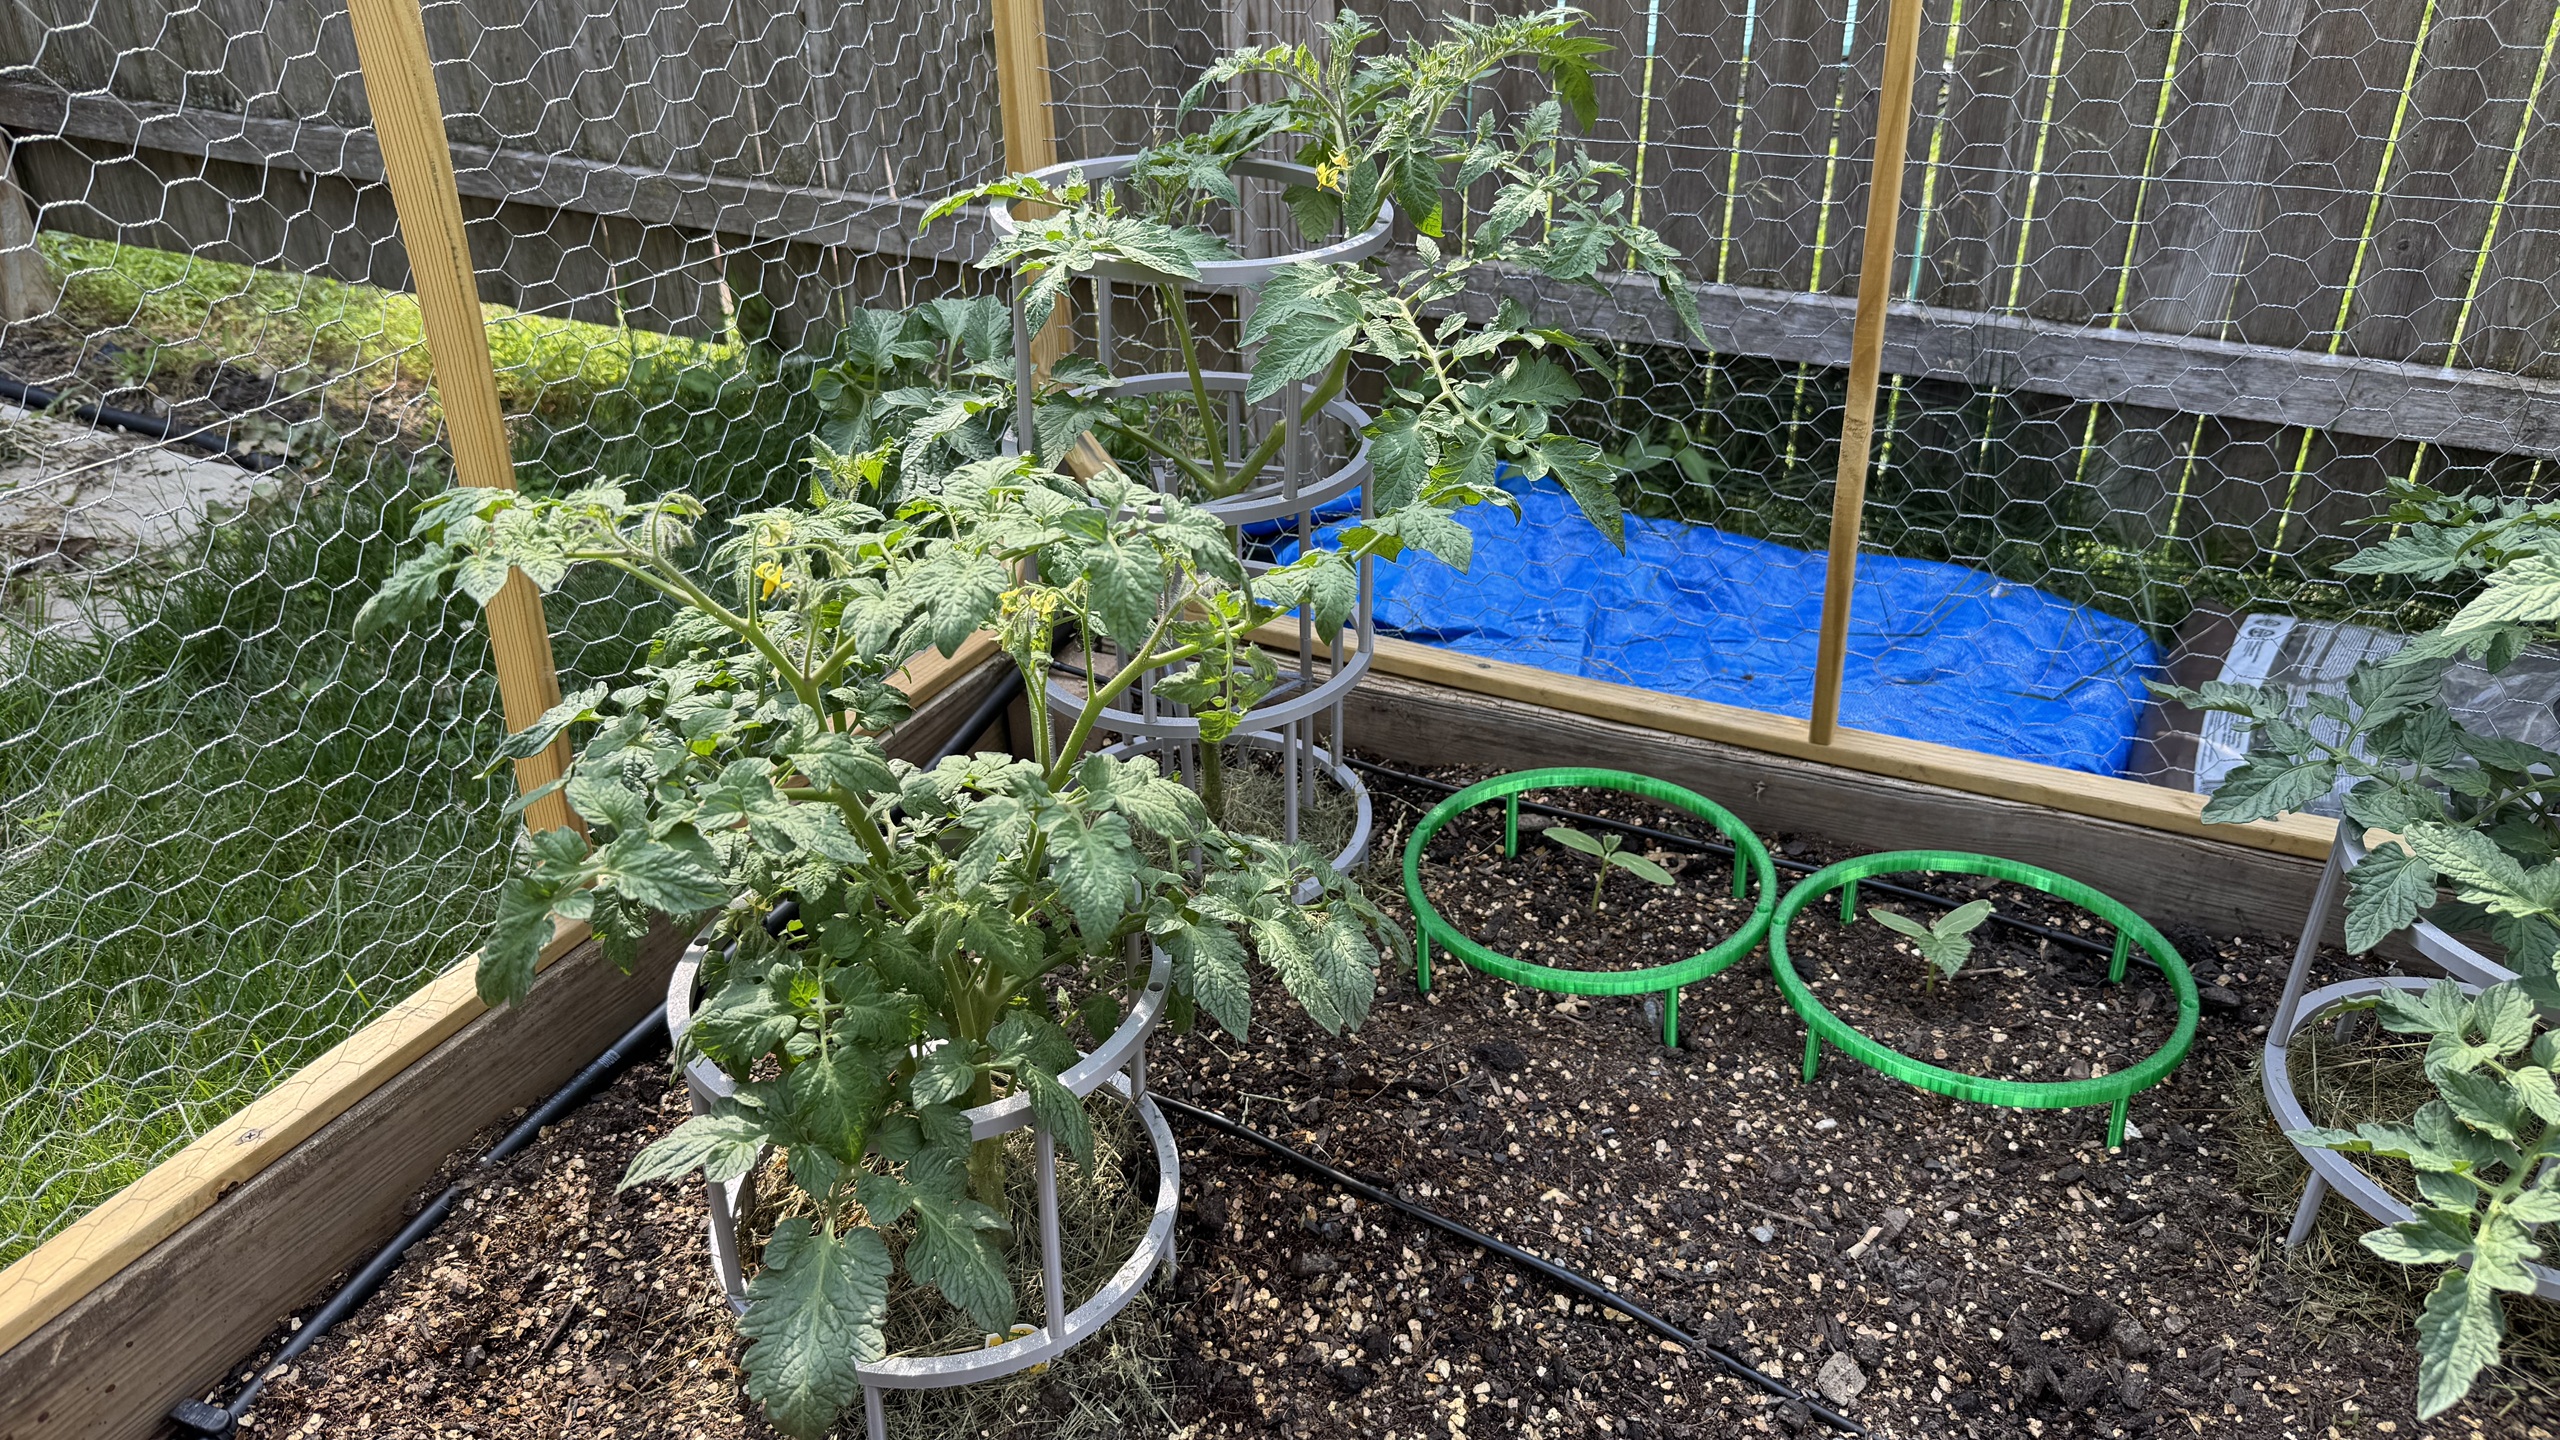
New hobby meets ancient practice when you combine 3D printing and agriculture! Credit: Andrew Cunningham
After several years of dashed hopes and false starts, I was finally able to get a single raised garden bed going in our backyard this year (among other things, a raised bed is a bit easier to protect from the wildlife in our backyard and simpler to use with the Square Foot Gardening system). The 3D printer contributed a few odds and ends, including parts that helped add strength to the enclosure I built around it and tools that helped me keep the cage’s corners (mostly) square.
But now that some of the plants are actually going, the 3D printer’s main contribution to the cause has been 3D-printed cages, which I’ve been using to get my vining plants to grow upward instead of outward (necessary for the close quarters of square-foot gardening) and to keep things from flopping over onto the ground.
As with the desk organizers, there are many options for plant cages and trellises, depending on the size of your plants, what you’re trying to grow, and your aesthetic and functional preferences. I’m giving these circular stackable ones a try since I like that they can easily be printed continuously based on how high your plants want to get, though for big ol’ tomato plants, you’ll still want a stake in the ground to help bear the weight once the plants are more than a few feet high.
If you do this—and especially if you’re using an open-bed printer like my Bambu Labs A1, which doesn’t handle filament like the UV-resistant ASA well—you’ll want to make sure to print using PETG plastic instead of the typical PLA. PETG can be fussier than PLA (it’s more prone to stringing, especially if you’re not drying your filament rolls), but it’s also less prone to warping after extended sunlight exposure, it’s modestly UV-resistant, and it has a bit more flexibility and resiliency than the more brittle PLA plastic.
—Andrew Cunningham, Senior Technology Reporter
Tool drawer organization
I also liked the idea of Gridfinity, but I found the 42 mm size a little awkward—and yes, it’s a Hitchhiker’s Guide reference, not a spec built around the size of human fingers. I modeled my own system in Fusion 360 based loosely on the idea, but with a 50 mm grid that I laser-cut out of cardboard to avoid having to print it. The containers are printed in matte black and white PLA, with a color switch using my X1C’s AMS multi-spool system to get the white tops. There’s no function to the white; I just thought it looked nice with the labels.
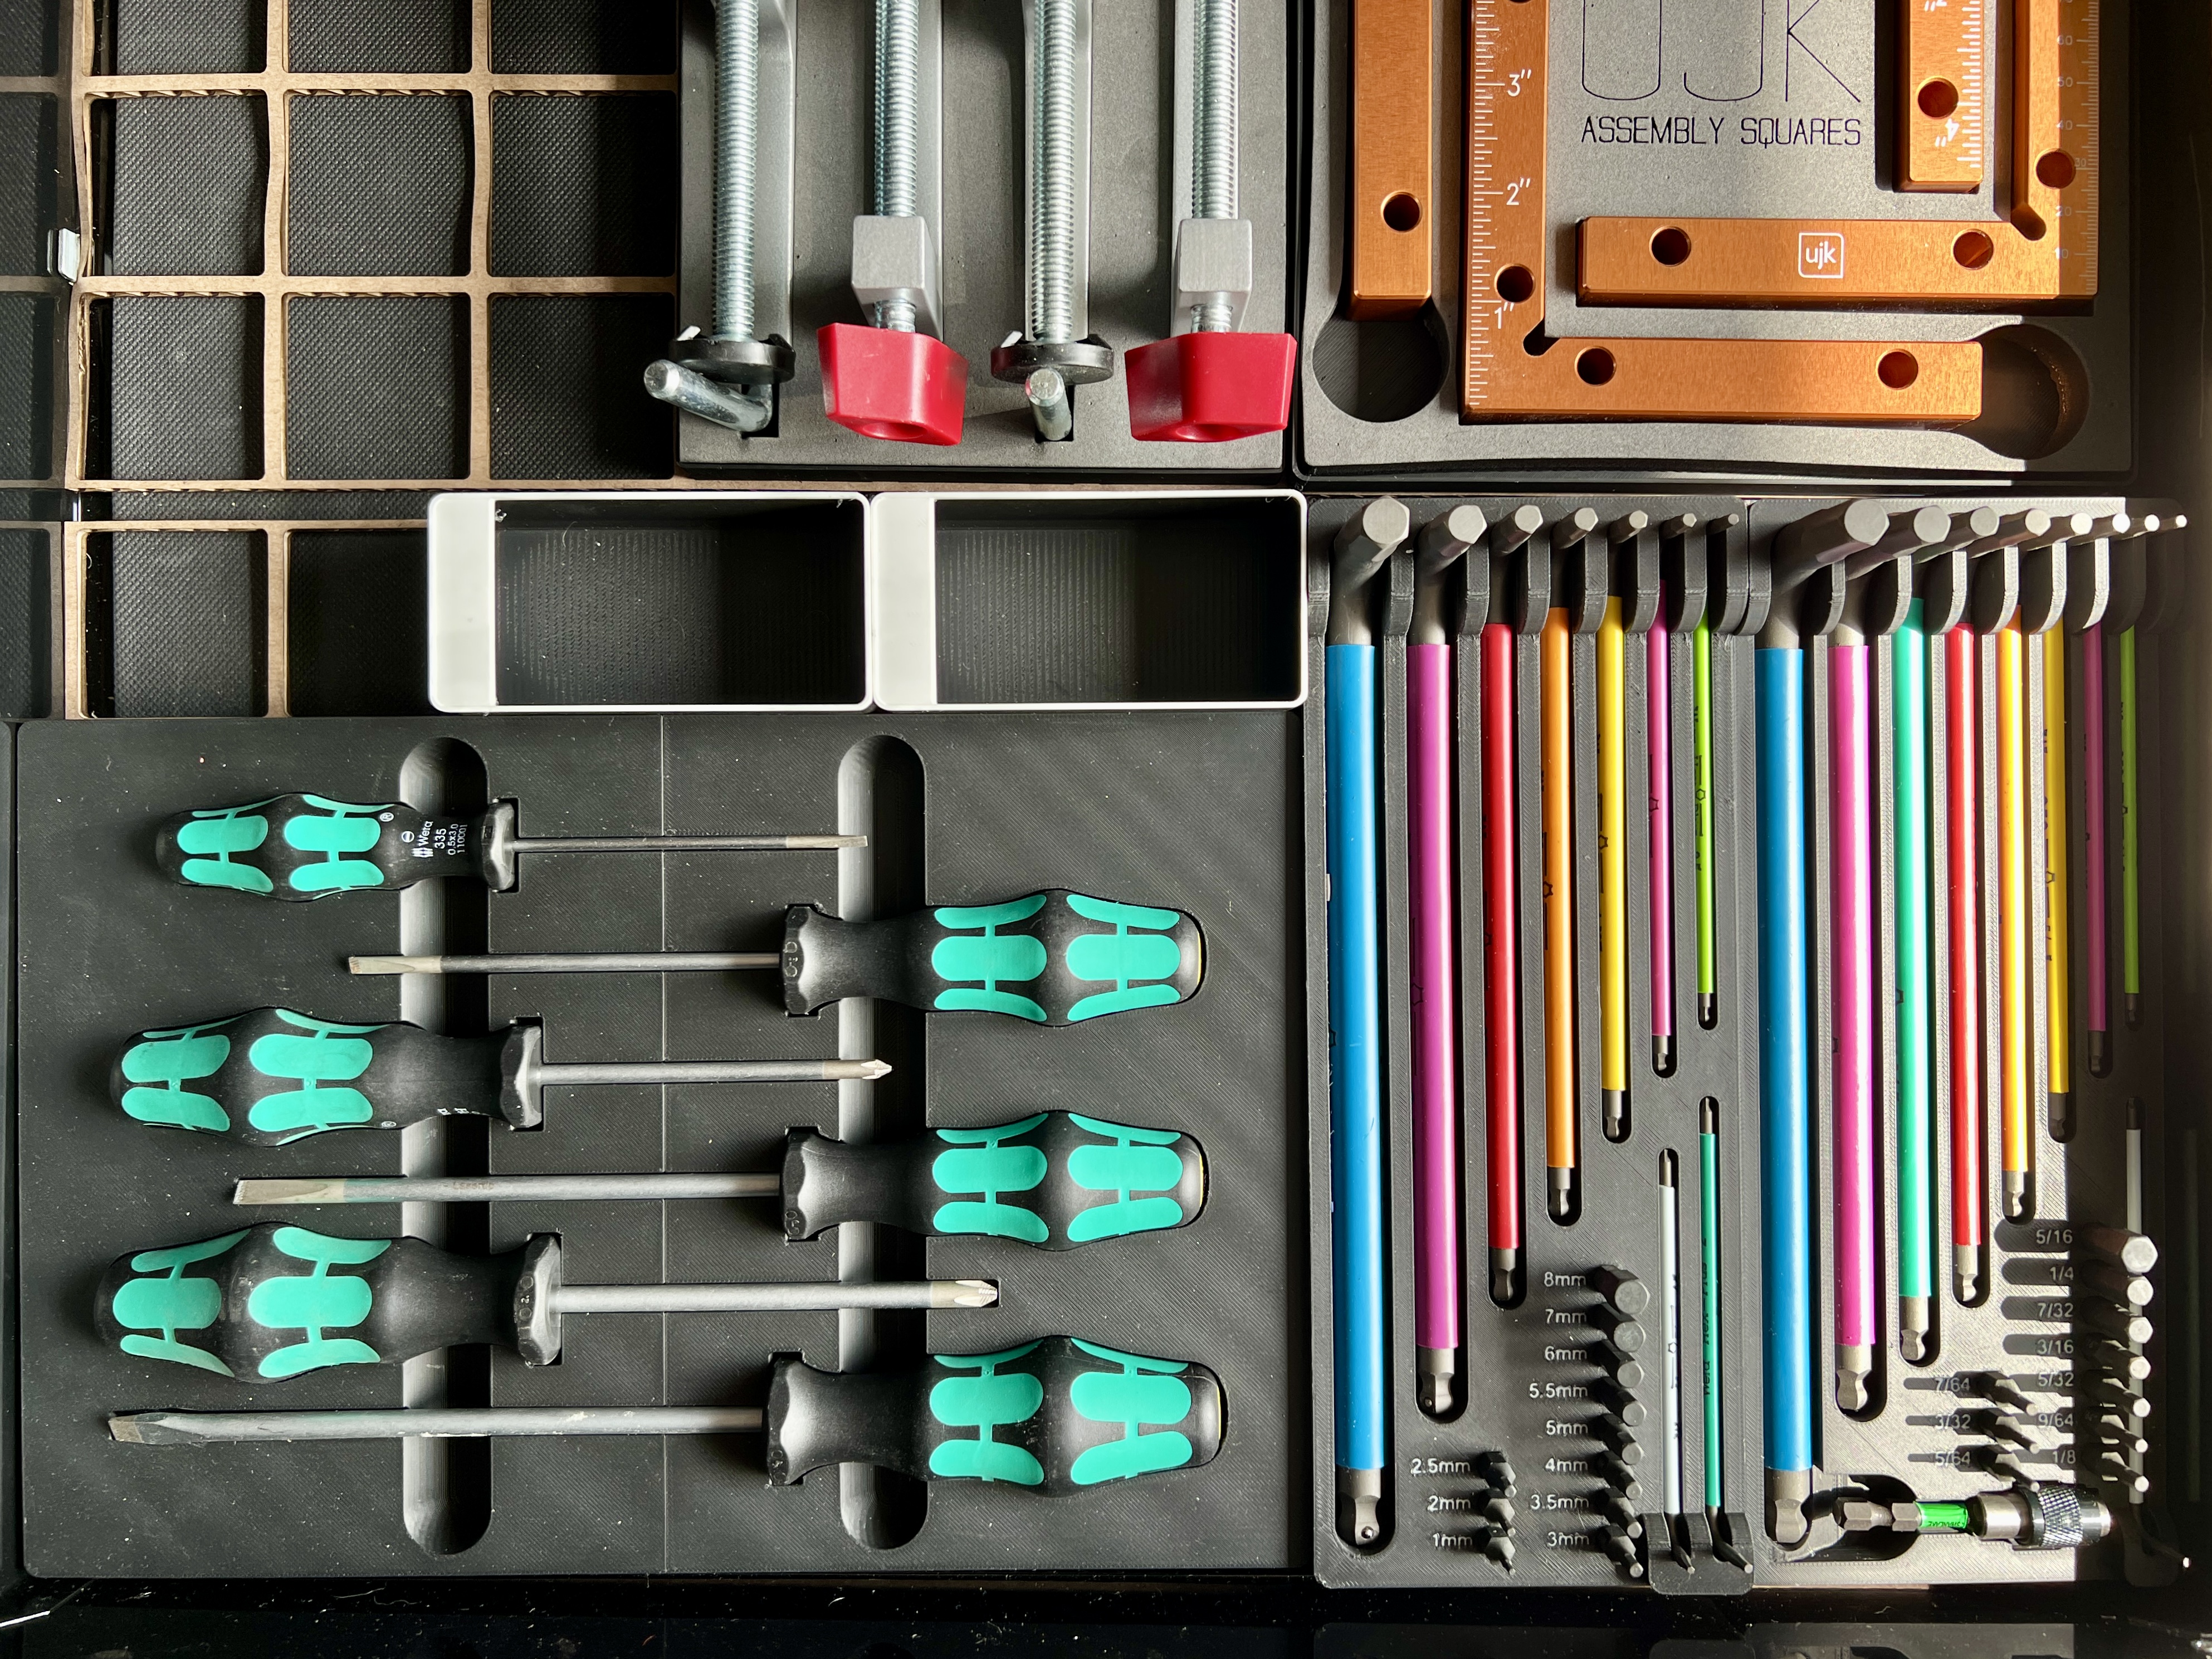
Custom holders for Wera screwdrivers and hex wrenches. Credit: Aurich Lawson
I modeled custom holders for another drawer to hold my screwdrivers and hex wrenches. Having the perfect shape to fit the screwdrivers is slightly overkill, but it’s super satisfying to drop them into place and watch them settle exactly into place. There’s a metric and imperial holder for the hex wrenches, each removable, so I can take them with me to find the right fit when I’m working on something. All the holders lock into the same 50 mm grid as the bins.
—Aurich Lawson, Creative Director
My main squeeze
Sometimes you stumble across things you didn’t know you needed. For me, that’s this Toothpaste Squeezer. You can print one or a dozen of them in no time. They’re simple yet effective.
Will it change your life? No. But it will give you that satisfying feeling of dealing with a beautifully primed tube of toothpaste every time. Even my in-laws use these now (or so they say). If you want something a little more hefty with a built-in ratchet, check this one out.
—Ken Fisher, Editor-In-Chief
Corral your remote controls
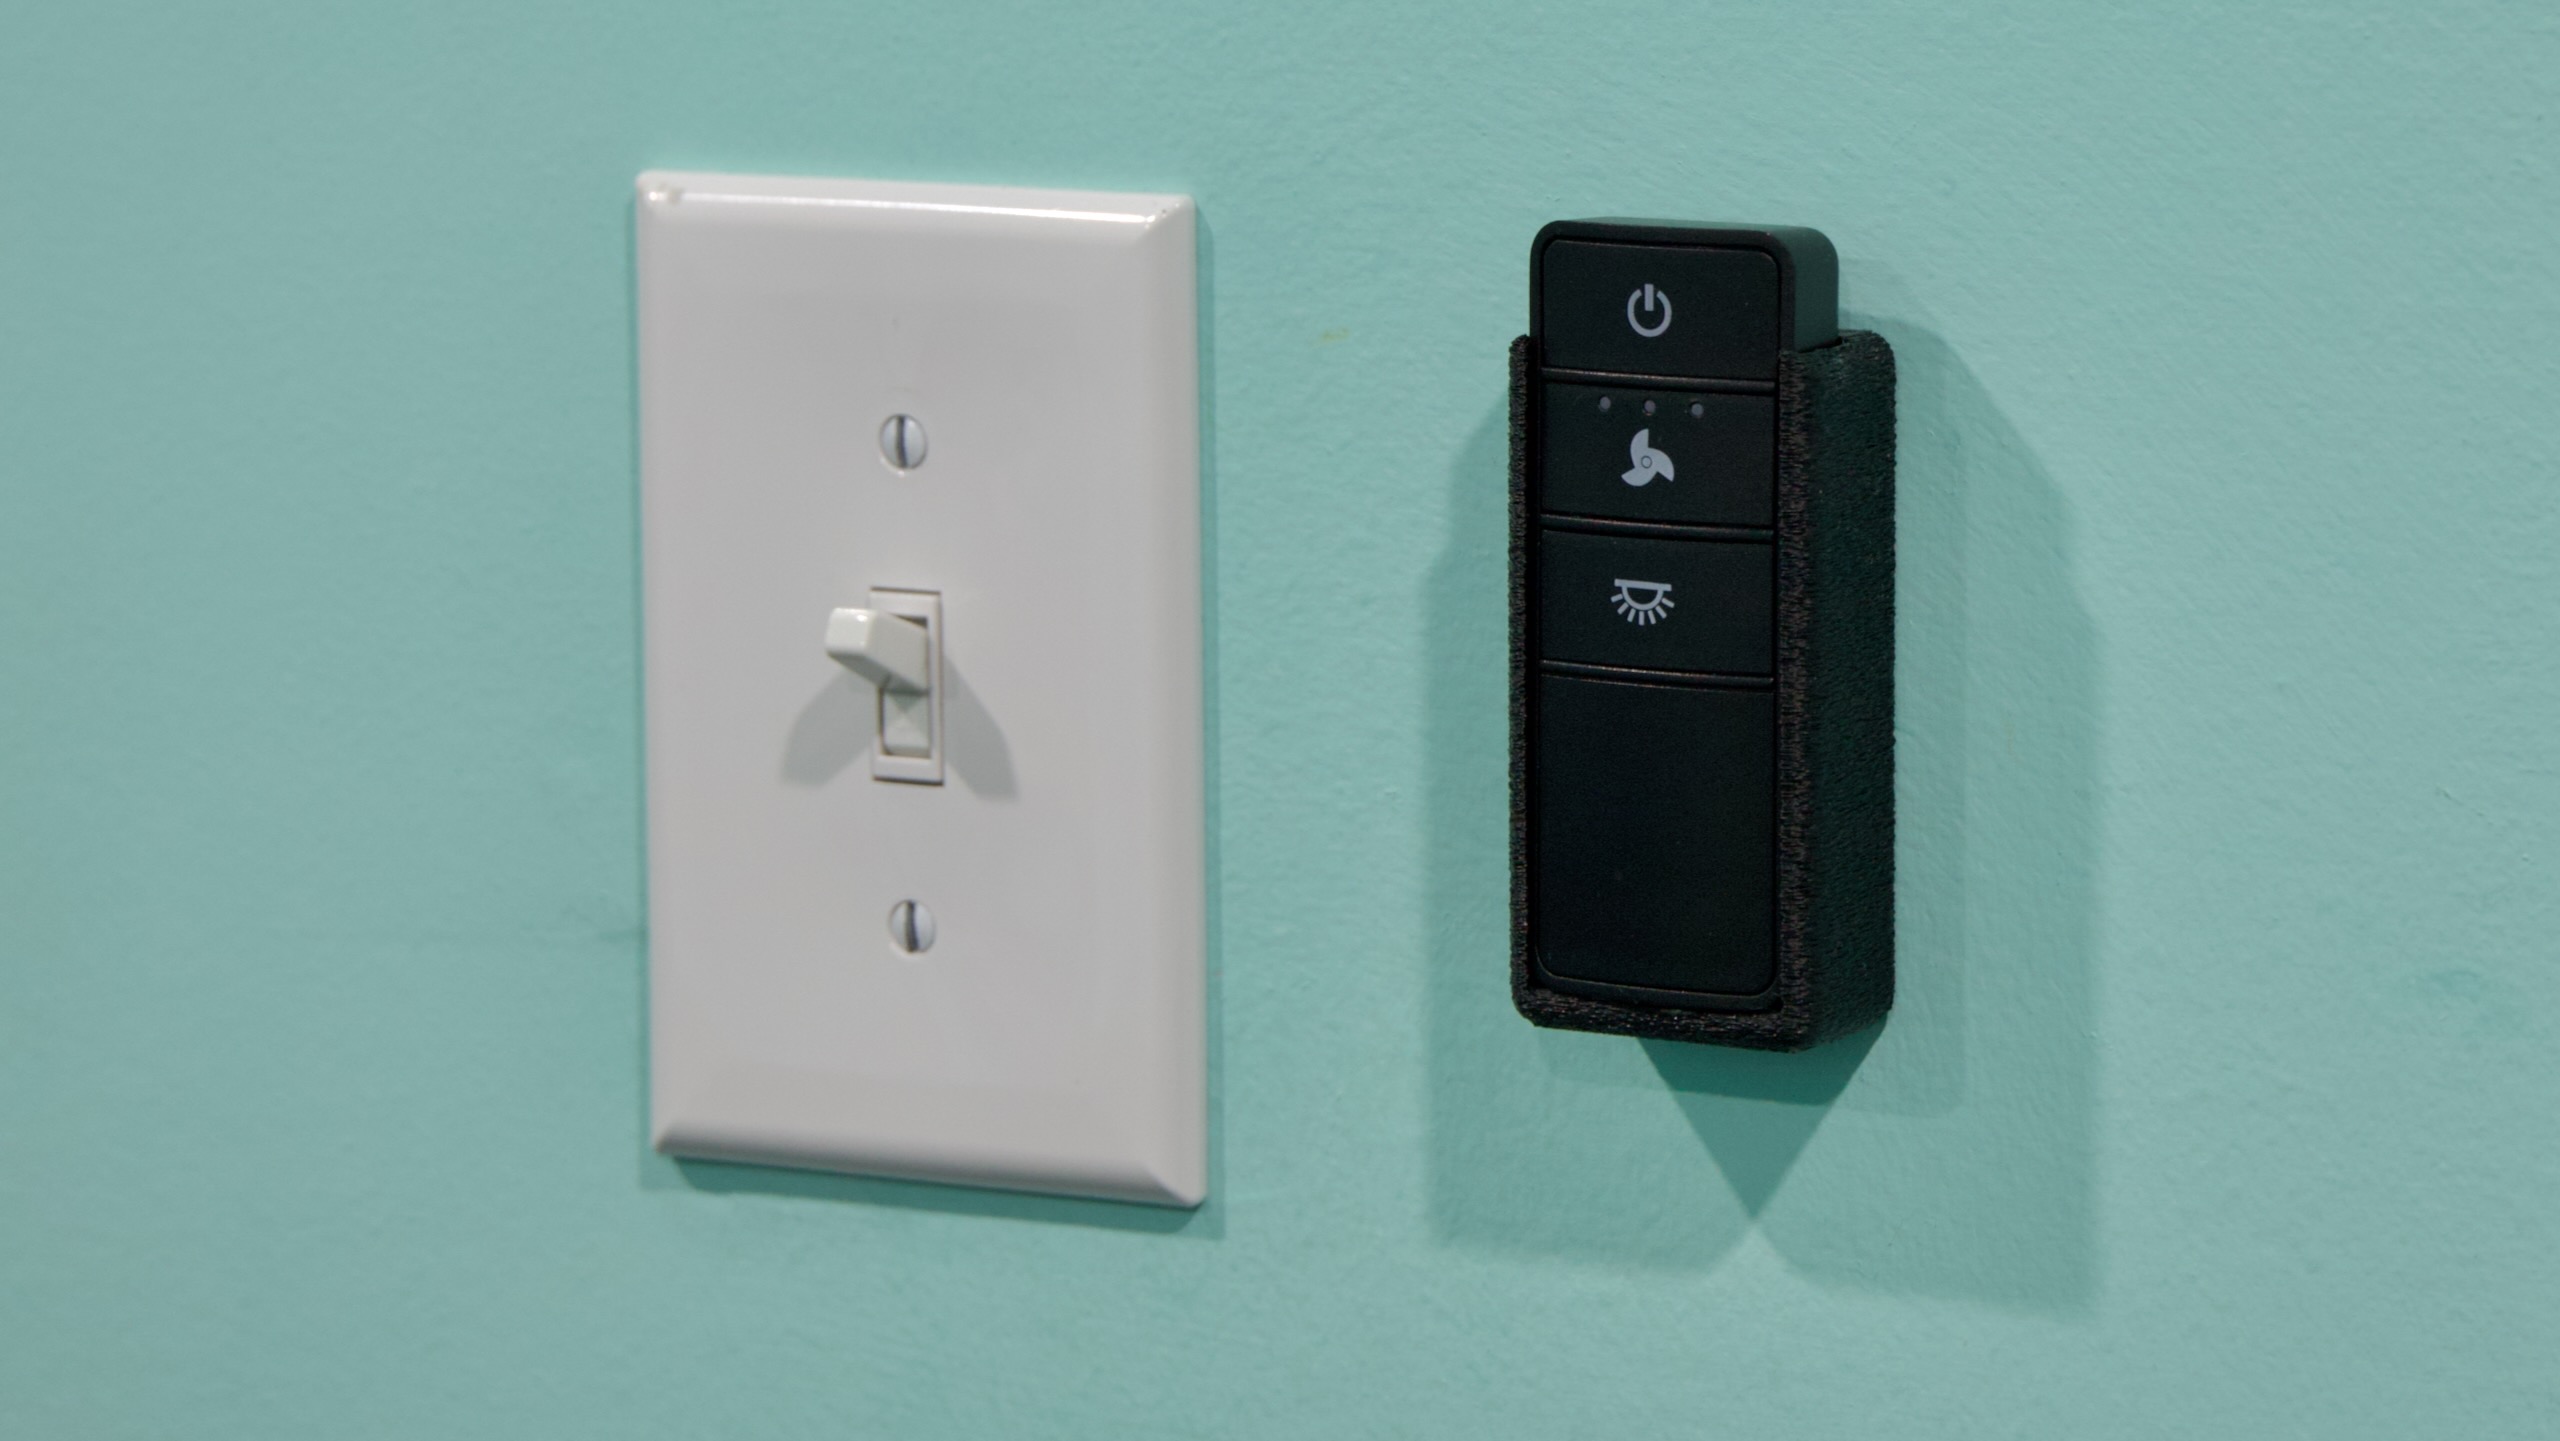
Even if you have a decent universal remote, chances are good that you still need your other remotes nearby. This remote control stand is easy to print, looks great, and offers a few customization choices. It also prints in multicolor without an AMS, so you can match your decor quite easily. And I’m pleased to note that it holds the fat TiVo remote with no problems.
—Ken Fisher, Editor-In-Chief
The Armorer helmet
In addition to practical prints, I like to make display props, especially Star Wars helmets. I don’t wear them for cosplay or anything; I just like having them around to look at and enjoy. I have several shelves full now, and I like to use a combination of ABS and resin to print them for the various advantages in post-processing and detail. This Armorer helmet from The Mandalorian is the first helmet I did, before I had my Bambu X1C, and it was printed in PLA on my Prusa. I later printed the horns in resin, but they could have been done in PLA and sanded smooth easily enough.
I’m including this helmet instead of any of my others because I wanted to show that you can make something like this with any bed slinger printer. You don’t need an enclosure or a large-format printer—this was printed in sections and glued together—and you don’t need fancy or toxic materials like ABS and resin.
There was a lot of sanding, filler primer, bondo, and several different passes of automotive paints, plus a two-part catalyst clear coat to finish it off. But you could get a lot of this look with rattle cans, without the need for a compressor and spray gun.
—Aurich Lawson, Creative Director

Andrew is a Senior Technology Reporter at Ars Technica, with a focus on consumer tech including computer hardware and in-depth reviews of operating systems like Windows and macOS. Andrew lives in Philadelphia and co-hosts a weekly book podcast called Overdue.
Ars staffers share some of their favorite unexpected 3D prints Read More »